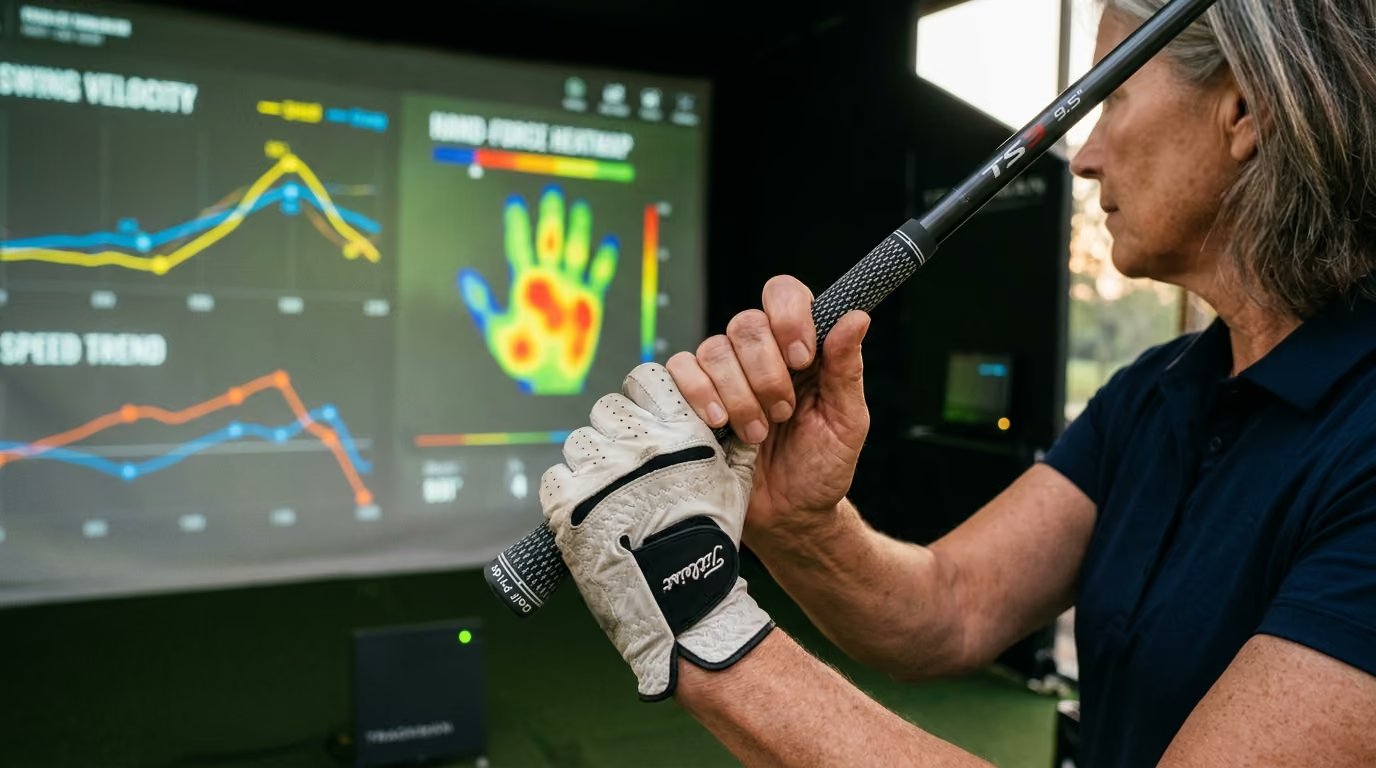
Learn how to unlock your thoracic spine's rotational range, improve your golf swing, and prevent pain with targeted mobility exercises.




Many golfers believe that hip flexibility is the secret to a long backswing. They spend hours stretching their hips and hamstrings to regain lost youth. This focus is misplaced. Your hips are rarely the real speed barrier in your golf swing.
The true culprit hiding behind your short swing is your mid-back. We must study this physical zone in great detail to restore your natural movement. A short blog post cannot fix decades of stiff posture. This guide provides a deep blueprint to rebuild your thoracic movement.
By understanding the mechanical reality of your spine, you can protect your body. You will also regain the clubhead speed you thought was gone forever. Let us look at how this physical issue shows up during your game.
You stand on the tee of the long, uphill fourteenth hole. Your score is solid, but your body is beginning to protest. You address the ball, pull your driver back, and try to make a full turn. Your lead shoulder stops short, hitting a hard physical barrier.
Your brain demands a full turn, so you find another way to move. To cheat the turn, you lift your arms high and slide your hips to the trail side. Your left knee collapses inward, and your spine tilts toward the target. You swing down with a steep, chopping motion.
The club strikes the ball near the toe. Your ball curves weakly into the right rough. Your lower back lets out a sharp, familiar pinch of pain.
This is not a technical swing error that a tip can cure. It is a physical cry for help from a locked mid-back. If you do not address this block, your swing will continue to shrink every year.
This physical restriction creates a cascade of swing flaws. The most common is early extension, where your hips move toward the ball during the downswing. When your chest cannot rotate, your body stands up to make room for your arms.
This movement ruins your spinal angle and causes inconsistent ball striking. You might also develop a "chicken wing" finish. This happens because your lead arm must bend to compensate for a lack of torso rotation.
Your shoulders and elbows absorb forces that your mid-back should have handled. Over time, this extra stress leads to chronic joint pain.
You must measure your current movement before you try to fix it. The Titleist Performance Institute developed a simple test for this. It is called the Seated Trunk Rotation Test. This test isolates your mid-back by taking your hips out of the equation.
You will need a chair with a flat seat and a golf club. Sit tall on the chair with your knees and feet squeezed together. Place the golf club across the front of your shoulders. Cross your arms over your chest to hold the club in place.
Keep your head facing forward throughout the test. Without moving your knees, slowly rotate your shoulders to the right. Do not let your knees slide apart or your hips lift. Have a friend watch you, or perform this in front of a mirror.
Note the angle of the club relative to your starting line. Return to the center, then rotate to the left. Observe if one side feels tighter than the other.
Seated Trunk Rotation Test Scoring:
A passing score requires at least forty-five degrees of rotation in both directions. If your club does not reach a forty-five-degree angle, your mid-back is restricted.
This test shows you exactly where your swing is losing its turn. It gives you a clear baseline to track your progress over time. You can find more assessment tips in our performance resources section.
Many right-handed players show higher rotation to the right than to the left. This asymmetry is common in lifelong golfers. However, a large difference between sides can lead to inconsistent ball flights.
We want to balance this rotation to keep your swing symmetrical and safe. Testing yourself every few weeks helps you track your recovery.
To understand why your mid-back locks up, you must look at how your spine is built. Your spine has different zones with distinct responsibilities. This is known as the joint-by-joint approach to human movement.
The thoracic spine consists of twelve vertebrae, labeled T1 through T12. This mid-back region is anatomically built to rotate. The lower back has five vertebrae, labeled L1 through L5.
This lumbar region is built for stability, not rotation. Each thoracic vertebra can rotate about three degrees. This adds up to a total of thirty to thirty-five degrees of turn to each side.
Your lumbar vertebrae are different. They can only rotate about two degrees each. This means your entire lower back only allows ten to thirteen degrees of total rotation.
When your mid-back becomes stiff, your body still wants to turn. It forces the lower back to twist beyond its safe limit. This extra twisting creates dangerous shear forces on your lower back discs.
Over time, this compensation causes pain and injury. Maintaining proper mobility in the mid-back is the best way of preventing golf injuries in your lower spine.
Spinal Region Mechanics:
Your thoracic spine does not move alone. It is part of a complex ring system that includes your ribs and chest bone. Every time you turn, your ribs must glide and slide over each other.
If your chest cage is stiff, your mid-back cannot rotate. Your movement is also affected by coupled motion. This means rotation and extension happen together in your spine.
If your back is slouched forward, your spinal joints compress. This compression physically blocks your ability to turn. Many mature players spend hours sitting at a desk.
This habit molds the spine into a rounded shape. You cannot rotate a slouched spine. You must stand tall before you can turn.
You may have heard of the swing metric called the X-factor. This is the difference in turn between your chest and your pelvis at the top of your backswing.
A larger gap often correlates with higher swing speed. But there is a more critical metric called the X-factor stretch. This stretch occurs at the very start of your downswing.
Your pelvis begins to turn toward the target while your upper body resists. This brief separation stretches the core muscles. It triggers a natural rubber-band effect that slingshots the club forward.
If your mid-back is stiff, this separation is impossible. Your chest and hips will turn together as one block. This block-like turn destroys your speed and accuracy.
You lose the dynamic stretch that creates effortless power. To restore this power, we must look at how aging affects your posture.
As we age, our bodies undergo predictable physical changes. These shifts accelerate after we pass forty years of age. The natural forward curve of your mid-back is called thoracic kyphosis.
In younger adults, this curve measures between twenty and twenty-nine degrees. This mild curve allows plenty of room for rotation. After age forty, this curve begins to increase.
Several factors drive this structural change. Your spinal discs lose water content, making them thinner and less springy. The muscles that keep your back upright also lose strength.
Prolonged sitting at work or in the car makes this worse. By the time you reach fifty-five, the average curve increases to forty-three degrees.
Age-Related Postural Shifts:
A curve that exceeds forty degrees is called hyperkyphosis. This rounded posture acts like a lock on your spine. It crowds your ribs and compresses your spinal joints.
This physical shift explains why your swing feels shorter each year. You cannot solve this with a better swing thought. You must address the physical structure through active healthy ageing routines.
This postural slump also affects your shoulder blade function. When your mid-back rounds forward, your shoulder blades slide up and forward. This position pinches the rotator cuff muscles.
It limits how high you can lift your arms. To get your hands high in the backswing, you will be forced to bend your spine backward.
This creates a dangerous reverse spine angle. This position puts extreme stress on your lower back joints at the top of your swing.
Your nervous system also plays a role in this stiffness. When your brain senses a lack of stability, it tightens the surrounding muscles.
This is a protective reflex. The muscles in your mid-back lock down to prevent further damage.
This muscle tension makes you feel even stiffer. To break this cycle, you must show your brain that it is safe to move. We do this through gentle, controlled movements rather than aggressive stretching.
Let us examine how these mechanical issues appear in real players. These case studies show how thoracic stiffness leads to specific swing compensations and pain patterns.
John is a forty-eight-year-old manager who sits at a computer for eight hours a day. He plays golf twice a week and notices his backswing has grown shorter. He tries to get more turn by pulling his arms behind his body.
This creates a deep collapse of his lead elbow. He suffers from chronic outer elbow pain and hits a heavy slice. His seated test showed only twenty-five degrees of mid-back rotation.
By restoring his thoracic extension first, John was able to turn his chest wider. His elbow pain went away because his arms no longer had to pull so hard.
Robert is fifty-two and wants to maintain his twenty-something swing speed. His mid-back has a significant forward curve from years of poor posture. Because his chest cannot turn, he sways his hips six inches to the right on his backswing.
On the downswing, his upper body lunges forward to recover. This creates an over-the-top swing path and frequent pull-slices. Robert began a daily thoracic extension routine.
Once his mid-back could sit in an upright position, his sway disappeared. He was able to turn around a stable pivot for the first time in ten years.
David is a competitive senior golfer who noticed his follow-through felt restricted. He could turn seventy degrees in his backswing but struggled to turn forty degrees on his finish. This asymmetry caused him to stall his hips through impact.
He was forced to flip his wrists to hit the ball, leading to inconsistent hooks. His screen showed thirty-eight degrees of right rotation but only twenty-two degrees of left rotation.
Focusing on left-sided thoracic mobility balanced his movement. His follow-through became long and smooth, and his clubface control improved.
If you feel your back locking up mid-round, you need quick solutions. You cannot perform a full workout on the tee box. You can use simple cues to free up your movement.
These adjustments will help you finish your round without pain. They also keep your swing on track when fatigue sets in.
When your mid-back is stiff, do not try to force your shoulders around. Instead, focus entirely on turning your trail hip backward. For a right-handed player, this means pulling your right hip behind you during the backswing.
This pelvic turn assists your upper body. It creates a larger turn without straining your spine. This cue reduces the pressure on your lower back.
It keeps your swing path on plane. You can learn more about hip movement in our golf-specific strength training guides.
Use your waiting time on the tee box to restore movement. Hold a golf club across your upper chest. Stand in your golf posture with your feet shoulder-width apart.
Take a deep breath in through your nose. As you exhale, gently turn your shoulders to the right. Focus entirely on turning your rib cage.
Keep your hips pointing forward during this movement. Return to the center, then repeat to the left. Perform five slow turns to each side.
This gentle movement lubricates your spinal joints. It prepares your nervous system for the next swing.
Tension is the enemy of movement. When you are nervous, you hold your breath. This tightens your rib cage and blocks your turn.
Try this simple breathing routine before you swing. Step up to the ball and take your stance. Take a deep breath, then let out a slow, long exhale.
Let your shoulders drop as you breathe out. Start your takeaway immediately after the exhale. This simple trick relaxes your chest muscles.
It opens up your natural range of motion. It also calms your mind before a difficult shot.
Quick fixes are helpful, but you need a permanent solution. You must build a daily habit to restore your spine. This routine takes fifteen minutes.
It targets extension, rotation, and breathing. Perform these movements three times a week for the best results.
You will need a standard foam roller for this exercise. Lie on your back with your knees bent and feet flat on the floor. Place the foam roller crosswise under your mid-back, right below your shoulder blades.
Interlace your fingers behind your head to support your neck. Keep your elbows pointing toward the ceiling. Keep your hips flat on the floor.
Gently lean your upper back backward over the roller. Do not let your ribs flare up too high. Hold this arched position for three deep breaths.
Return to the starting position. Lift your hips and slide the roller up two inches. Lower your hips and repeat the stretch.
Work your way up to your upper back, but avoid your neck. Never place the roller under your lower back. The lower back does not need this extension.
Foam Roller Placement:
Lie on your left side on a comfortable mat. Bend both knees to ninety degrees, stacking them on top of each other. Place your left hand on top of your right knee.
This keeps your hips from moving. Reach your right arm straight out in front of you. Slowly lift your right arm up and over to the right side.
Follow your hand with your eyes. Focus entirely on turning your rib cage. Keep your knees pressed together and on the floor.
Only go as far as your mid-back allows without lifting your knees. Hold the stretch for three seconds. Return to the start.
Perform ten repetitions, then switch sides. This movement opens up the sides of your chest. It also stretches the tight chest muscles that block your backswing.
Start on your hands and knees on the floor. Place your hands under your shoulders and knees under your hips. Place your right hand behind your head, keeping your elbow wide.
Slowly rotate your right elbow down toward your left wrist. Next, reverse the movement. Rotate your elbow up toward the ceiling as far as you can.
Focus entirely on turning your upper chest. Do not let your hips shift to the side. Exhale as you reach for the ceiling.
Inhale as you return to the start. Perform ten controlled reps on each side. This builds active rotational strength in your mid-back muscles.
It teaches your body to use its new range of motion.
Start in a half-kneeling position with your right knee on the ground and your left foot forward. Place a light resistance band under your right foot. Hold the other end of the band in both hands near your right hip.
Keep your pelvis pointing straight ahead. Slowly lift the band diagonally across your chest and up over your left shoulder. Focus entirely on turning your chest as you lift.
Control the band as you lower it back to your hip. Perform eight repetitions, then switch your kneeling stance and repeat. This exercise builds stability in your lower half while your upper half rotates.
It mimics the separation needed for a powerful downswing.
Your breathing mechanics control your rib cage mobility. If you breathe shallowly, your chest muscles become tight. This stiffness locks your spine.
Diaphragmatic breathing is vital to relax these tissues and allow your ribs to move. Your diaphragm is a dome-shaped muscle below your lungs. When you breathe deeply, it moves downward.
This movement expands your lower ribs outward in all directions. If you only breathe into your upper chest, your neck and shoulder muscles overwork. These accessory muscles become tight and pull your shoulders forward.
This poor posture locks your thoracic spine in a flexed position. Deep breathing relaxes these muscles and opens up your ribs.
Breathing and Rib Mobility:
Use Box Breathing to relax these tissues. Sit or lie in a comfortable position. Inhale through your nose for a count of four seconds.
Hold your breath for a count of four seconds. Exhale slowly through your mouth for a count of four seconds. Hold your breath empty for a count of four seconds.
Repeat this cycle five times. This practice calms your nervous system. It also allows your ribs to expand and move freely.
Perform this breathing routine before your mobility exercises to get better results.
Many golfers make mistakes when trying to improve their mobility. These errors can lead to pain or slow your progress. Be aware of these three common traps.
The most common mistake is forcing rotation from the wrong place. When your mid-back stops turning, you might try to turn further by twisting your lower waist. As we learned, your lower back is not built for this.
Forcing this movement pinches your spinal joints. It also puts extreme pressure on your spinal discs. To avoid this, keep your pelvis stable during your mobility drills.
If your hips move during a mid-back stretch, you are cheating the movement. Focus on quality of turn rather than quantity.
You cannot rotate a spine that is rounded forward. If you try to stretch your turn while slouching, you compress your joints. This compression can cause sharp pain.
It also prevents you from gaining any real mobility. Always sit or stand tall before you begin a stretch. Think about reaching the crown of your head toward the ceiling.
This tall posture opens up the space between your vertebrae. It allows your spine to turn safely. If you feel pinching, stop and check your posture.
Many people hold their breath when they feel a tight stretch. This reaction triggers a threat response in your brain. Your muscles will tighten up to protect you, which defeats the purpose of the stretch.
Always breathe slowly and deeply during your mobility work. An exhale is a signal to your body that it is safe to relax. Use the exhale to sink deeper into each movement.
If you cannot breathe easily, you are stretching too hard. Back off until you can take smooth, deep breaths.
Your physical limitations interact with the equipment you use. If you have a stiff mid-back, your gear can help or hurt your game. Making small adjustments can protect your body and keep you playing.
A stiff spine reduces your swing speed. If you use a shaft that is too stiff, you will try to swing harder. This extra effort leads to tension and poor form.
Consider switching to a lighter, more flexible shaft. A senior or regular flex shaft can help you maintain distance without forcing your body. This change allows you to swing smooth and protect your joints.
Do not let pride keep you in a shaft that hurts your body.
Heavy, rigid spikes lock your feet into the ground. While this provides stability, it can transfer extra twisting force up into your knees and back. If your mid-back is stiff, this force has nowhere to go.
Consider trying spikeless shoes with flexible soles. These shoes allow your feet to rotate slightly during the swing. This small release reduces the strain on your joints.
It is a simple way to protect your lower back and knees from excessive torque.
Thin grips require you to squeeze the club tightly. This tension travels up your arms into your shoulders and upper back. Tight shoulder muscles lock your rib cage and stop your turn.
Try using midsize or oversized grips. These grips allow you to hold the club with lighter pressure. This relaxation helps your upper body turn more freely.
It also reduces the strain on your elbows and wrists.
Equipment Adjustments:
Let us review the most important lessons for your mid-back health. Your swing speed and longevity depend on keeping your thoracic spine moving.
Focus entirely on turning your trail hip during your next practice session to keep your spine safe and your swing powerful.
Follow Golfergy for practical insights on performance, mobility, recovery and healthy ageing. Stay connected for new articles, research-led guidance and ideas to help you play better for longer.


Explore practical resources on performance, recovery, mobility and golf longevity.
Read the Blog