
Learn to identify and address the physical limitations hindering your golf swing with eight self-assessment tests and a practical roadmap for lasting improvement.




A physical bottleneck is a specific, measurable limitation in your joint mobility or muscle stability. It is not a lack of athletic talent. It is not a fundamental flaw in your golf swing theory. Many golfers over the age of 40 spend thousands of dollars on professional lessons, yet they continue to struggle with the same swing faults. This happens because their bodies physically cannot execute the positions their instructors demand.
To build a reliable swing, you must separate your technical habits from your physical capabilities. This guide presents a deep, structured look at your physical movement patterns. We will analyze how your body moves through eight targeted self-assessments you can perform in your living room. We will connect these movements to real swing faults, analyze the data behind physical limitations, and provide a practical roadmap to build lasting longevity.
You are standing on the 14th tee box of a long, difficult par four. Your back is slightly tight, your legs feel heavy, and you face a narrow fairway with water on the right. You recall the best piece of advice from your last lesson: keep your chest down and maintain your posture through the hitting zone. You take a deep breath, swing back, and make your downswing.
Instead of rotating through the ball, your hips slide forward toward the target line. Your spine straightens up, your hands flip at the ball, and you block the shot into the right hazard. You feel frustrated because you knew exactly what you wanted your body to do. This was not a mental error or a failure of concentration.
Your lead hip was physically blocked from rotating. Because your hip could not turn, your brain protected your lower back by forcing you to stand up. Your swing thoughts failed because your body ran out of available range of motion. On the back nine, fatigue sets in and makes these physical limitations even more obvious.
To understand why your swing breaks down, you must understand how your body functions as a single movement system. The joint-by-joint approach is a biomechanical framework popularized by physical therapists Gray Cook and Mike Boyle. This model views the human body as a stack of alternating segments. Each segment requires either mobility or stability.
Mobility is the active ability of a joint to move through a range of motion under control. This is different from simple flexibility, which is the passive length of a muscle. For example, stretching your hamstring while lying on your back measures flexibility. Lifting your leg high while standing upright requires mobility, as it combines muscle length with active strength.
Stability is the ability of a joint to resist unwanted movement. This requires strength, balance, and muscular control.
The human body stacks these needs in a predictable pattern:
When a joint that needs mobility becomes stiff, the body compensates. It forces the adjacent joint to move instead. If your hips are stiff, your body will force your lower back to twist and bend. The lower back is designed to be stable, so this extra movement causes tissue damage and chronic pain.
According to the Titleist Performance Institute, this connection between body movement and swing mechanics is the foundation of golf fitness. If you lack the physical capability to turn your mid-back, your swing will find another way to create rotation. This usually means a loss of posture, a reverse spine angle, or a destructive sway.
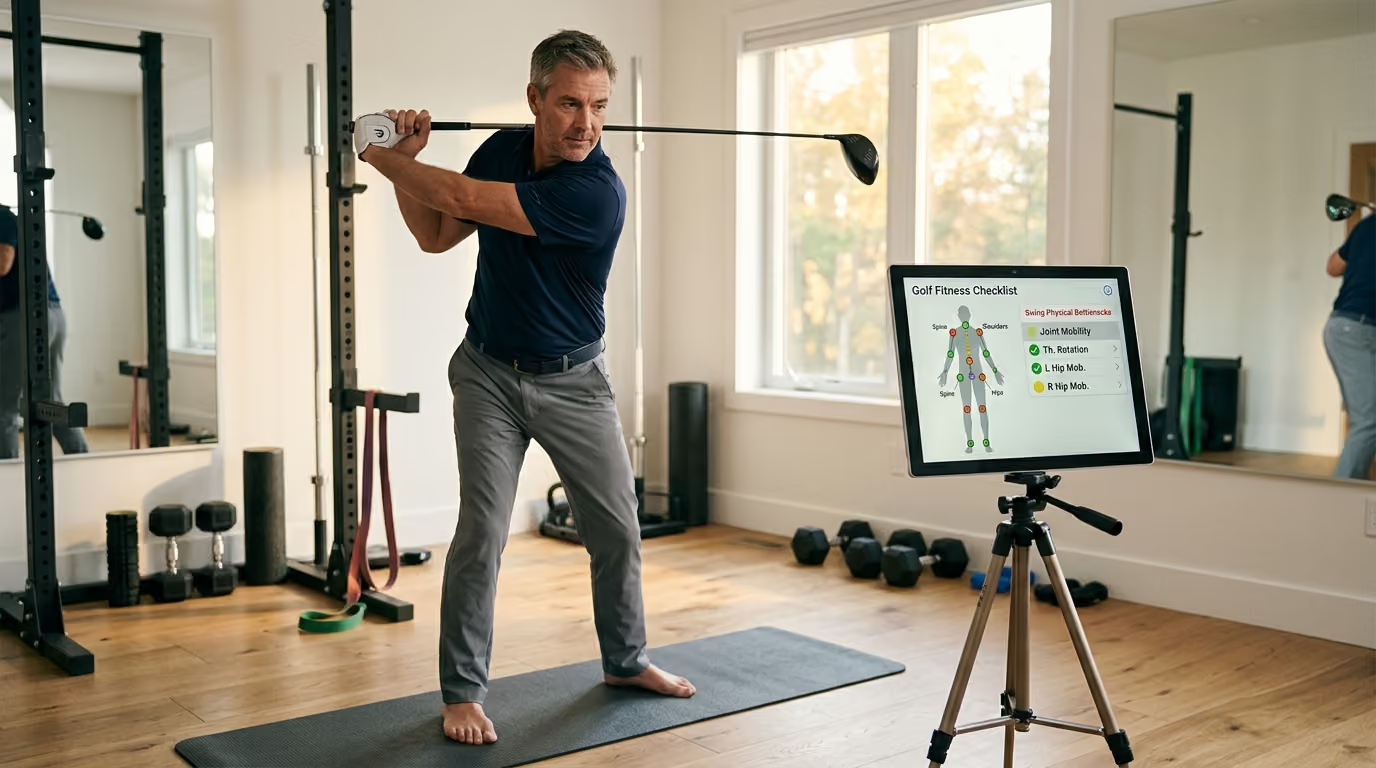
You do not need a sports science laboratory to find your physical limitations. You can run these eight basic assessments in your living room with a golf club and a chair. Perform each movement slowly and focus entirely on the specific joints being tested.
This test measures ankle dorsiflexion, hip flexion, thoracic extension, and shoulder mobility. It is a total-body screen that highlights how well your joints coordinate under load.
First, stand with your feet shoulder-width apart. Point your toes straight forward. Hold a golf club with both hands. Your elbows should be bent at a 90-degree angle while resting the club on your head.
Next, press the club straight up toward the ceiling. Keep your arms locked. Slowly lower your hips toward the floor as deep as possible. Keep your heels flat on the floor.
A passing grade requires your thighs to descend below parallel with the floor. Your heels must stay down. The golf club must remain directly over your feet, rather than tipping forward toward your face.
Focus entirely on keeping your heels glued to the floor. If your heels lift, your ankles are the primary bottleneck.
This test measures your ability to control pelvic posture and isolate your lower back. It helps identify whether you are prone to arching or rounding your spine.
First, stand in your normal 5-iron posture. Cross your arms over your chest and rest your hands on your shoulders.
Next, slowly arch your lower back. This tips your pelvis forward. Then, slowly tuck your tailbone under. This flattens your lower back and tilts your pelvis backward.
Perform this back-and-forth movement several times. Keep your head and chest completely still.
A passing grade is a smooth, continuous tilt in both directions. Your upper body should not move. If your chest moves, or if your lower back shakes, you lack pelvic control.
Focus entirely on tilting your tailbone down. This pelvic movement is vital for sequencing your downswing.
This test evaluates your ability to separate your lower body from your upper body. This separation is key to creating power and maintaining a smooth swing tempo.
First, assume your 5-iron setup posture. Cross your arms over your chest.
Next, rotate your hips from side to side. Keep your chest, shoulders, and head completely still.
A passing grade requires your pelvis to rotate smoothly in both directions. The movement must occur without your shoulders twisting.
Focus entirely on turning your trail hip backward. If your shoulders turn along with your hips, your lower body is locked to your upper body.
This test measures the rotational mobility of your thoracic spine. It isolates your mid-back by locking your hips in place.
First, sit tall on a stool or chair with your knees and feet together. Place a golf club across your shoulders behind your neck. Squeeze a small ball or a pillow between your knees to keep your hips from moving.
Next, rotate your shoulders as far to the left as possible. Hold for a second. Return to center, then rotate as far to the right as possible.
A passing grade is a rotation of at least 45 degrees in both directions. You can verify this angle by looking in a mirror or recording yourself from above.
Focus entirely on turning your ribcage. Do not use your neck to force extra turn.
This test measures shoulder external rotation and scapular stability. It determines if you can set the club properly at the top of your backswing.
First, stand tall with your arms at your sides. Raise your lead arm out to the side at shoulder height. Bend your elbow to a 90-degree angle.
Next, rotate your hand upward toward the ceiling. Your forearm should remain vertical. Repeat this process with your trail arm.
A passing grade means your forearm can align vertically or tilt past vertical without your chest arching forward.
Focus entirely on rotating your upper arm bone in the shoulder socket. If you must lean backward to get your hand up, your shoulder rotation is limited.
This test evaluates your hamstring and lower back flexibility. It determines if you can maintain your posture throughout the swing.
First, stand with your feet together. Keep your knees completely straight.
Next, bend forward at your hips. Reach down and try to touch your toes with your fingertips.
A passing grade is touching your toes easily without bending your knees or bouncing.
Focus entirely on pushing your hips backward. If you cannot reach your toes, tight hamstrings will likely force you to stand up during your swing.
This test measures your internal and external hip rotation. Internal hip rotation is the single most important movement for preventing lower back strain.
First, stand on your lead leg. Hold a golf club in front of you for balance. Lift your trail foot slightly off the ground.
Next, turn your hips and pelvis inward toward your standing leg as far as possible. This measures internal rotation. Then, turn your hips and pelvis outward away from your standing leg. This measures external rotation. Repeat this on the trail leg.
A passing grade is 45 degrees of internal rotation. You also need 60 degrees of external rotation on both hips.
Focus entirely on turning your belt buckle toward your standing thigh. If your hip joint pinches, your rotation is limited.
This test measures your balance, ankle stability, and deep core control. It tells you if you can support your body weight during a dynamic swing.
First, stand tall with your arms crossed over your chest. Lift one foot off the ground.
Next, close your eyes. Try to hold this position without moving. Repeat on the other leg.
A passing grade is holding your balance with your eyes closed for 10 seconds on each foot.
Focus entirely on pressing your big toe into the ground. If you wobble instantly, your stabilizers are underactive.
Failing these tests points directly to specific swing errors. If you cannot perform these movements in a slow, controlled setting, you cannot perform them during a fast swing. This physical limitation leads to predictable, destructive patterns.
If you fail the Toe Touch Test or the Lower Quarter Rotation Test, you are highly likely to struggle with early extension. Early extension occurs when your hips move toward the golf ball during the downswing.
Research from the Titleist Performance Institute shows that golfers who fail the overhead squat or single-leg balance tests are two to three times more likely to slide or early extend. When your lead hip lacks internal rotation, your pelvis cannot turn out of the way.
To clear space for the club, your body pushes your pelvis forward. This causes you to lose your spine angle. You must then flip your wrists to hit the ball, which leads to inconsistent contact, fat shots, and blocks.
For a deeper dive into improving your movement patterns, you can check our golf mobility resources to find targeted drills.
Your lower back is designed to be a stable platform. The lumbar vertebrae only allow about 10 to 15 degrees of rotation. Your hips, conversely, are mobile ball-and-socket joints built to turn.
A study published in the Journal of Sports Science & Medicine found that amateur golfers with chronic lower back pain typically have 8 degrees less lead hip internal rotation than golfers without pain. When your lead hip is locked, the rotational force of the downswing does not stop.
Instead, that force travels directly into your lower back. This twists your lumbar spine beyond its safe limits. This excessive rotation causes muscle strains, disc bulges, and wear on your spinal joints.
Failing the Pelvic Tilt Test leads to postural faults at setup. If you cannot control your pelvis, you will likely fall into an S-posture or a C-posture.
S-posture is characterized by an excessive arch in your lower back. This puts high stress on your lumbar spine before you even swing.
C-posture is a rounded upper back. This position limits your ability to turn your shoulders. Both postures prevent you from rotating efficiently. They also increase your risk of injury during the high-speed phases of the swing.
If you failed the Seated Torso Rotation Test, your thoracic spine is stiff. Your body still wants to make a full backswing, so it looks for rotation elsewhere.
This search for movement usually leads to a reverse spine angle. This occurs when your upper body bends toward your target at the top of the backswing.
This position places immense pressure on your lower back. It also forces you to lift your arms instead of turning your chest. This results in a weak, over-the-top downswing.
Using structured physical screens is the best way to uncover these issues. You can read more about self-assessments in our comprehensive golf resources section.
If you are on the golf course and realize your lead hip is tight, you cannot fix the tissue restriction instantly. You can, however, use a simple adjustment to protect your joints and save your round.
To manage a lack of lead hip internal rotation, flare your lead foot outward. Turn your lead toes toward your target by 20 to 30 degrees.
This simple adjustment pre-rotates your lead hip. It opens your pelvis relative to the target line, which reduces the amount of internal rotation required during your downswing.
This change allows your hips to clear through impact without forcing your lower back to twist.
Focus entirely on pointing your lead toes toward your target before you grip the club. This quick modification will keep your posture intact and reduce lower back stress.
To clear physical bottlenecks, you must build a routine that combines mobility training with stability work. Passive stretching alone will not change your swing. Your brain needs to learn how to control your joints in these new ranges of motion.
To build a more resilient body, visit our injury prevention guide for additional safety tips.
This exercise addresses limited hip internal rotation. It helps restore the natural gliding motion of your hip joint.
First, get down on your trail knee on a soft mat. Place your lead foot flat on the floor in front of you. Your knee should be bent at a 90-degree angle.
Next, squeeze your trail glute as tight as you can. Keep your torso tall. Slowly rock your hips forward about one inch.
Hold this position for five seconds. Return to the starting position. Repeat this ten times on each side.
Focus entirely on squeezing your trail glute. This activation stabilizes your pelvis and allows your hip flexors to release.
This drill builds rotational mobility in your mid-back. This is key for creating a wide backswing without hurting your lower back.
First, lie on your side on a comfortable mat. Pull your knees up toward your chest at a 90-degree angle. Rest your knees on a foam roller or a pillow.
Next, extend both arms straight out in front of your chest. Your palms should touch. Slowly lift your top arm toward the ceiling.
Continue rotating that arm back behind you. Try to touch your top shoulder to the floor. Keep your knees squeezed together on the roller.
Hold for three seconds, then return to the start. Complete ten repetitions on each side.
Focus entirely on rotating your chest toward the ceiling. Do not let your knees lift off the roller.
To build the necessary strength to support these new movements, explore our golf strength training resources.
This stretch improves your ankle mobility. This is crucial for maintaining your posture during a deep squat or a dynamic golf swing.
First, stand facing a solid wall. Place your toes about three inches away from the baseboard.
Next, keep your heel flat on the floor. Slowly drive your knee forward until it touches the wall.
Hold for two seconds, then return. If your knee easily touches the wall, slide your foot back another inch. Repeat this ten times on each leg.
Focus entirely on keeping your heel pressed against the floor. Do not let your heel lift.
Perform this three-step routine three times per week. It takes less than ten minutes. This regular practice will slowly expand your range of motion and improve your swing mechanics.
Many golfers make simple errors when assessing their physical movement. These mistakes can lead to incorrect conclusions or even minor injuries.
The most common mistake during testing is allowing other joints to help. During the Pelvic Rotation Test, for example, many golfers sway their knees or twist their shoulders. This makes it look like their hips are turning.
To get a valid baseline, you must lock every other part of your body. If a test asks you to move your pelvis, your shoulders must remain completely still.
If you cheat the movement, you will fail to identify your real bottlenecks. Use a mirror or a smartphone camera to watch your movements closely.
Many golfers believe that stretching a muscle is the only way to improve mobility. This is a common misconception.
Your brain will restrict your range of motion if it feels your joints are weak. If you stretch your hamstrings but never strengthen your hips, your brain will keep those hamstrings tight to protect your pelvis.
You must combine stretching with stability exercises. Strength training teaches your brain that your new range of motion is safe to use.
Self-assessments require you to pay close attention to your body's signals. It is common to feel muscle tightness or mild discomfort during these movements.
However, you must never push through sharp pain. If you feel a pinching sensation in your hip or a sharp twinge in your lower back, stop the test immediately.
Sharp pain indicates a clinical issue rather than a simple mobility bottleneck. If you experience pain, seek guidance from a medical professional.
For recovery tips after your assessments or practice sessions, read our golf recovery articles to keep your muscles fresh.
Your equipment can either help or hurt your physical limitations. If you have stiff joints, certain gear choices can make your movement patterns worse.
Many traditional golf shoes have stiff soles and heavy plastic spikes. These shoes are designed to lock your feet to the turf.
If your ankles are already stiff, rigid shoes make rotation even harder. They prevent your feet from moving naturally, which increases the stress on your knees and lower back.
Consider wearing flexible, spikeless golf shoes. These shoes allow your feet to bend and rotate, which helps compensate for stiff ankles.
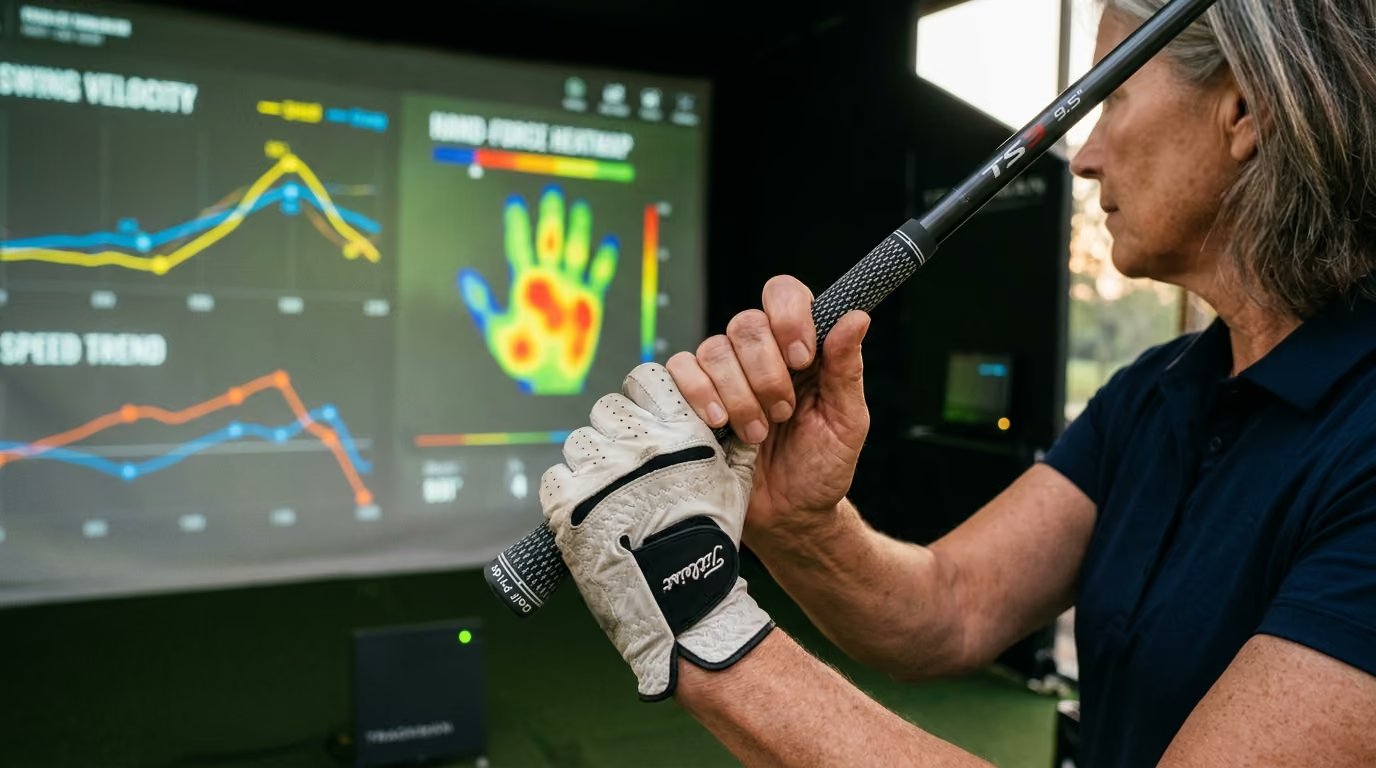
If you have stiff fingers, wrists, or shoulders, your grip size matters. Using grips that are too small forces you to squeeze the club tightly.
This excess tension travels up your forearms, into your elbows, and up to your shoulders. This tension blocks your ability to rotate your upper body smoothly.
Consider trying midsize or jumbo grips. Larger grips reduce hand tension and help relax your upper body during the swing.
Playing shafts that are too stiff for your swing speed requires rapid, violent body rotation to square the clubface. If you have mobility limitations, this extra effort can strain your joints.
A softer shaft flex does more of the work for you. It allows you to swing at a controlled tempo while still generating solid distance.
Do not let your ego dictate your shaft selection. Choose a flex that matches your actual physical capabilities.
Your swing path is limited by your physical range of motion, so training your joint mobility is the most reliable way to improve your ball striking and protect your body.
You should run through this physical checklist once every three months. This schedule gives your body enough time to build new movement habits. It also allows you to track your progress as you perform your weekly mobility exercises. Do not test yourself every day, as joint mobility takes time to develop.
Yes, you can still play golf if you fail several tests. However, you should modify your swing setup to protect your joints. Use adjustments like flaring your feet outward to reduce the stress on your hips and lower back. Focus on playing a smoother, shorter swing while you work on your mobility at home.
Most golfers notice improvements in joint comfort within two to three weeks of consistent training. However, making permanent changes to your muscle length and joint stability takes about eight to twelve weeks of regular practice. Consistency is more important than intensity, so stick to a short, regular routine.
Minor muscle tightness or a stretching sensation is normal during these tests. If you feel this type of discomfort, note it as a weak spot and continue with your routine. If you feel any sharp, pinching, or shooting pain, stop the test immediately. Pain is a sign that you should consult a physical therapist or a doctor.
Follow Golfergy for practical insights on performance, mobility, recovery and healthy ageing. Stay connected for new articles, research-led guidance and ideas to help you play better for longer.


Explore practical resources on performance, recovery, mobility and golf longevity.
Read the Blog