
Learn a structured protocol for golfers to safely return to play after joint replacement surgery, understanding how to protect new joints and regain your swing.




Imagine standing on the first tee of your favorite course. The sun is shining, the fairway looks wide, and your group is watching. You grip your driver and prepare to swing. Yet, you hesitate. Your left hip or right knee is brand new, made of titanium and plastic. This is the moment where fear often creeps in. You wonder if your new joint can handle the swift twist of a golf swing.
Our team knows this feeling well. The saddest thing I have seen in golf is watching lifelong playing partners slowly drop out of our weekend group. It usually starts with a nagging shoulder or knee issue they ignore until it requires surgery. That pattern is exactly why I became obsessed with golf longevity. We do not have to stop playing as we age, provided we do the right maintenance work between rounds.
Many players believe that joint replacement surgery marks the end of their golfing days. However, clinical data tells a very different story. With a structured approach, you can return to the fairway safely. You can even play without the chronic pain that used to ruin your back nine. To learn more about keeping your body healthy as you age, visit Golfergy.
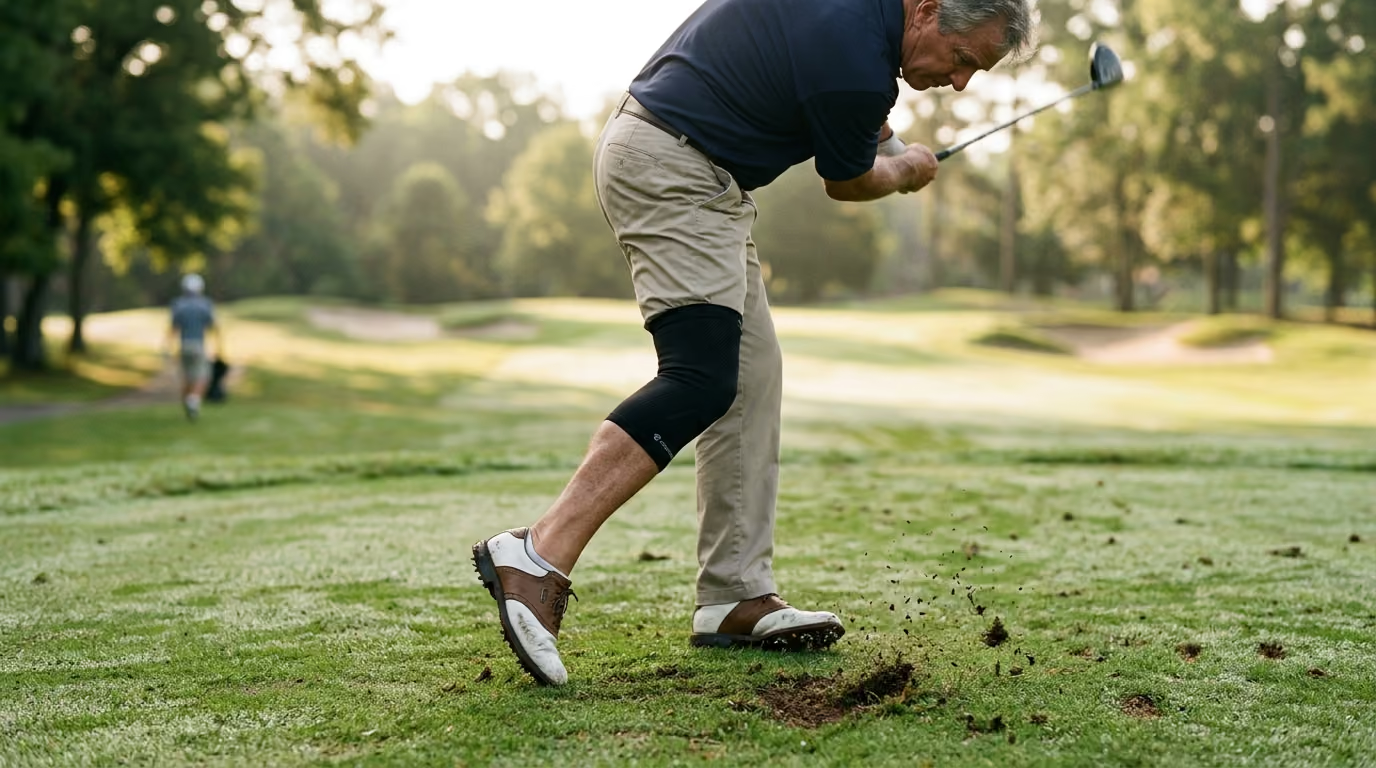
To play golf safely after surgery, you must understand the forces at play. Your hips and knees bear the brunt of your swing speed. During a standard swing, your joints experience significant rotational stress and compression. This is especially true for your lead leg, which is the left leg for a right-handed player.
The lead leg acts as a major braking system during your follow-through. When you swing through the ball, your lead hip and knee absorb your full body weight. This movement creates a twisting force that can stress a healing joint. If you do not have enough muscle strength to support this force, the artificial joint takes the shock.
This is why the type of joint replacement you had matters. Data published in PubMed arthroplasty studies shows that about 90 percent of hip replacement patients return to golf. In contrast, about 70 percent of knee replacement patients make a successful return. The knee is a hinge joint, meaning it does not handle twisting forces as well as the ball-and-socket joint of the hip.
Fortunately, your skill level does not have to suffer. Studies show the mean change in handicap after joint replacement is nearly zero. Golfers often increase their rounds per month from 5.2 to 5.6 because they no longer hurt. By understanding the mechanical stress on your body, you can protect your investment and play great golf. We offer practical guidance on injury prevention to help you navigate these transitions.
The first six weeks after surgery are dedicated to tissue healing. Your body is busy repairing muscles, tendons, and the skin incision. During this window, your main goal is to manage swelling and protect the new joint. You should not perform any golf-specific activities during these six weeks.
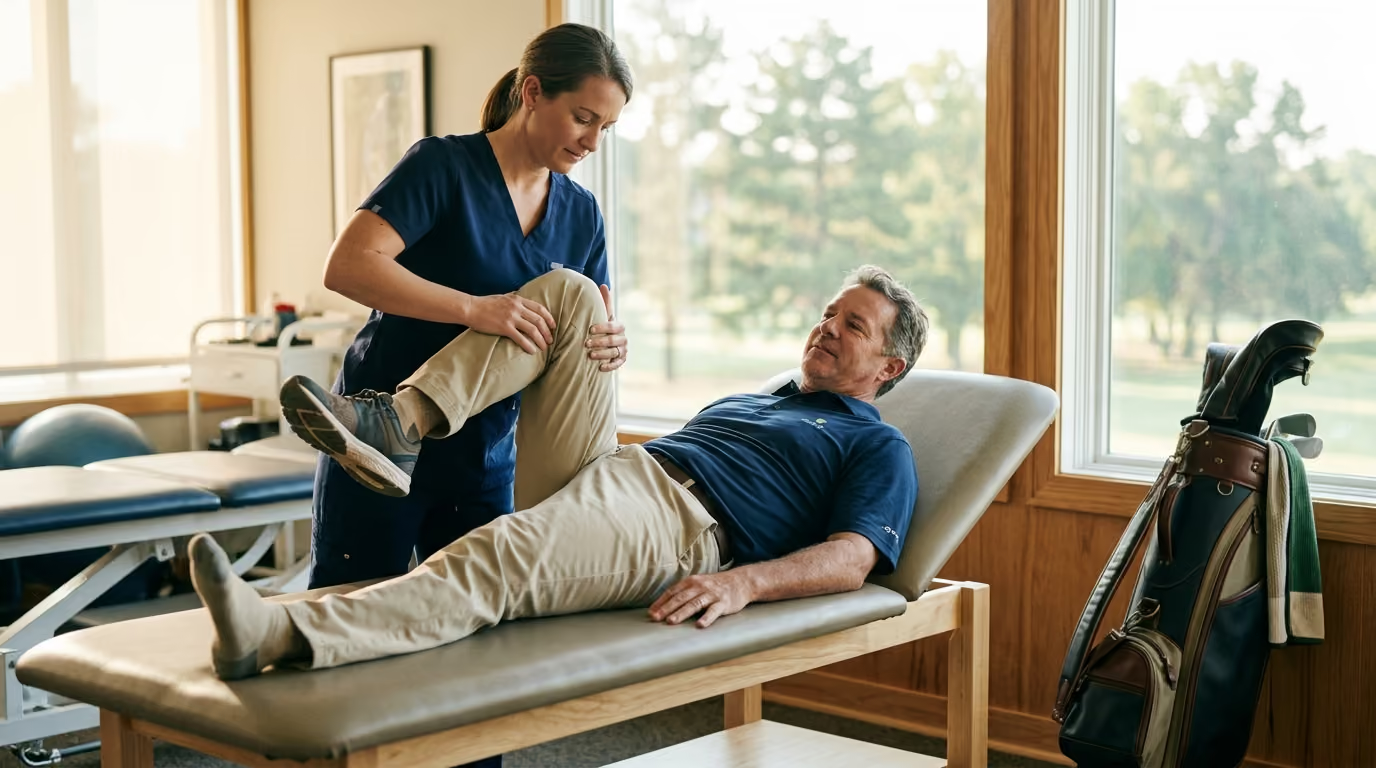
Instead, your focus should be on passive and active range-of-motion drills. These movements are typically guided by your physical therapist. They help prevent scar tissue from locking up your new joint. Keeping the joint moving gently keeps the surrounding muscles from tightening.
In our experience, rushing this phase is a recipe for long-term setback. If you try to swing a club too early, you risk irritating the joint capsule. This irritation leads to chronic swelling, which delays your overall recovery timeline. Allow your body to build a stable foundation first.
During this phase, keep your activities simple. Focus on short, frequent walks on flat surfaces. Do your prescribed ankle pumps, leg lifts, and knee bends. These movements maintain healthy blood flow and speed up the healing process.
Once you reach week six, your tissue has achieved a basic level of healing. Now you can begin advanced conditioning. This phase focuses on closed-chain resistance training, where your feet stay planted on the ground. This training improves your balance and strengthens the muscles surrounding your new joint.
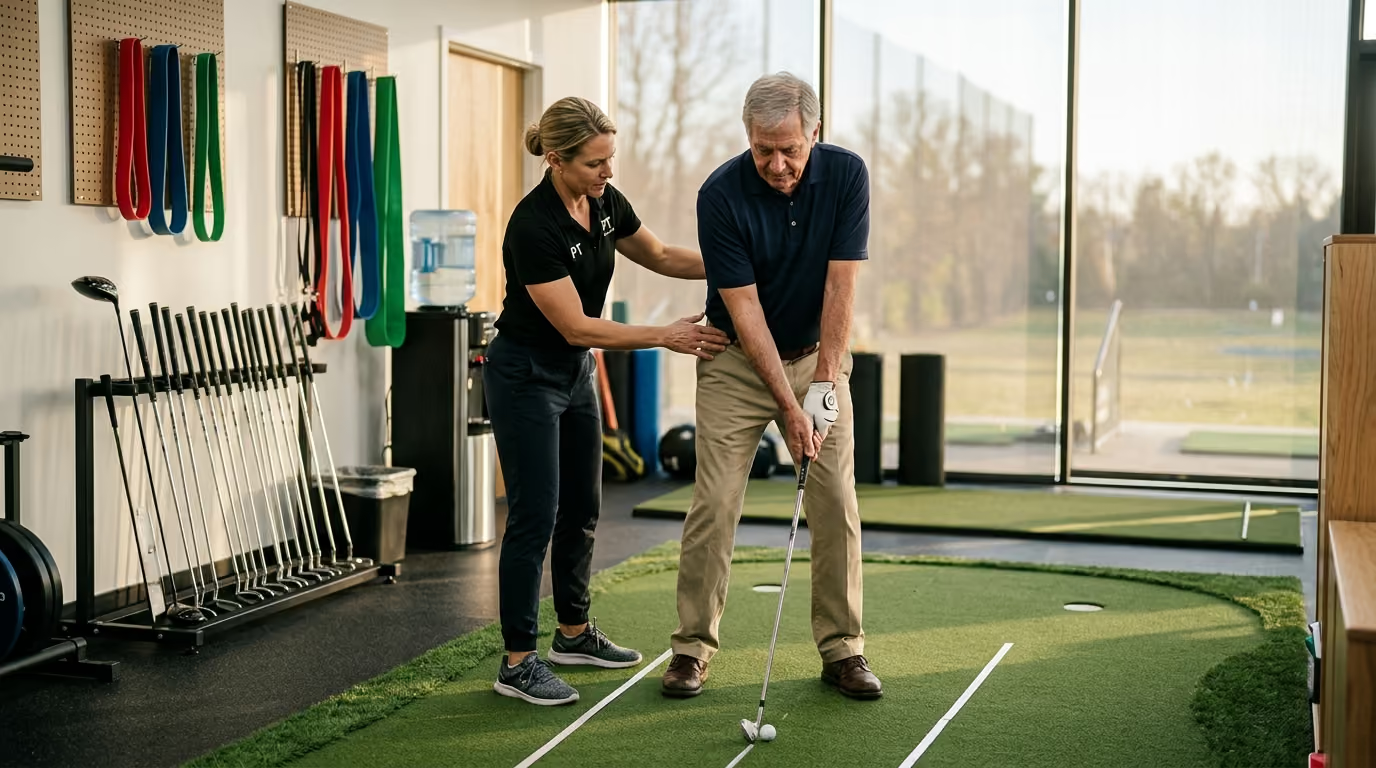
You can also introduce light golf movements during this window. Around week four or five, most surgeons allow basic putting practice. Keep your feet close together and avoid any twisting of your hips. Focus entirely on rocking your shoulders to move the putter.
By weeks six to eight, you can transition to light chipping. Use a high-lofted wedge and make short, slow swings. Your lower body should remain quiet during these short shots. Focus entirely on turning your trail hip just a tiny bit to guide the club. Improving your mobility during this phase is vital for a smooth transition.
This phase is also the time to rebuild your dynamic balance. Standing on a single leg or using balance pads helps retrain your brain to feel where your body is in space. This sense is often damaged during surgery. Rebuilding it is key to a stable golf swing.
The third phase is where you transition back to the full swing. However, you must progress slowly. Do not head straight to the first tee. Start on the driving range with a wedge, making half-swings at half-speed.
Research from orthopedic groups shows that amateur golfers typically recover their normal swing speed by weeks 8 to 10 of active swinging. But you must wait for your surgeon's clearance before taking full swings. Surgeons typically advise waiting 8 to 12 weeks before playing full rounds after a hip replacement. For a knee replacement, the timeline is often 12 to 16 weeks.
The reason for this difference lies in how the joints heal. Hips are highly stable joints surrounded by deep muscle groups. Knees rely more on ligaments and are more sensitive to twisting under weight. Give your knee those extra weeks to build side-to-side stability.
When you first return to the course, play only nine holes. Use a golf cart to save your energy for the swings. If you feel any sharp pain or sudden swelling, stop playing immediately. You can check out more recovery strategies on our recovery page.
You do not need to swing exactly like you did before surgery. Making a few simple adjustments can reduce joint stress while keeping your power. These modifications are easy to apply and offer immediate relief on the course. These adaptations are a core part of post-surgical recovery for longevity-focused players.
The simplest change is to flare both your feet outward. Turn your lead foot and your trail foot out by 20 to 30 degrees. This setup position instantly opens up your hips.
When your feet are flared, your hips do not have to twist as far to achieve a full turn. This position reduces the rotational force on your knee and hip joints. It is a highly effective way to protect your lead leg during the follow-through.
Many modern golf instructors tell players to keep their lead heel glued to the ground. For a post-surgical golfer, this is bad advice. Instead, allow your lead heel to rise naturally during your backswing.
This classic movement reduces the amount of twist required from your lead hip. It also takes the pressure off your trail knee. As you start your downswing, let the heel step back down gently to initiate your move.
Adopt a three-quarter backswing instead of trying to parallel the club to the ground. A shorter swing limits joint rotation. It also helps you maintain a smooth tempo.
You can still generate good distance by focusing on solid contact. A smooth, controlled swing often produces better ball speed than a long, erratic one. Focus on a clean strike rather than raw swing speed.
Walking a full 18 holes of golf is a major physical challenge. A standard round of golf requires walking about four to five miles. This distance translates to roughly 10,000 steps over a four-hour period.
Before you decide to walk the course, you must pass the 10,000 Step Test. This test confirms that your new joint can handle the endurance demands of golf. You should perform this test away from the course first.
To start, try walking 10,000 steps throughout a single day. If you can do this without swelling or pain, progress to the next step. Walk 10,000 steps within a continuous four-hour window. This matches the exact timeline of a round of golf.
If your joint flares up or feels hot after this walk, you are not ready to abandon the cart. Continue using a golf cart for your rounds. Rest your joint and focus on your low-impact conditioning exercises.
Many golfers make simple errors when trying to return to the game. These mistakes can cause unnecessary pain or even damage your new joint. Recognizing these pitfalls helps you stay on a safe recovery path.
Many players focus entirely on how their trail leg feels during the swing. They forget that the lead leg takes the majority of the weight and twisting force. This oversight can lead to pain in the lead knee or hip.
You must make sure your lead leg has at least 90 percent of the strength of your non-operated leg before playing full rounds. Work with your physical therapist to measure your single-leg strength. Do not return to full swings until your lead leg is strong and stable.
It is tempting to walk the course as soon as you feel better. However, surgeons strongly advise using a cart for the first two to three months of play. Walking four miles while swinging a club places double the stress on a healing joint.
Using a cart allows you to save your joint capacity for the actual swings. It prevents fatigue, which is when most swing mechanics break down. Save walking for later in your recovery journey.
Many traditional golf shoes have hard plastic spikes. These spikes lock your feet into the turf. This grip prevents your feet from pivoting, which forces the twisting energy up into your knees and hips.
Avoid hard spikes after surgery. Opt for spikeless golf shoes or very soft rubber spikes. These shoes allow your feet to slip slightly during the swing, venting the harmful rotational force.
An aggressive, wrapped-around-the-body finish looks dynamic, but it is dangerous for a new joint. This finish puts a high amount of torque on your hip and knee at the very end of the swing.
Instead, practice a balanced, upright finish. Let your body face the target with your weight evenly distributed. Do not force your body to twist past its natural limits.
Your gear can play a major role in how much vibration and force travels into your joints. Making a few simple equipment changes can make your return to golf much more comfortable.
If you currently play steel shafts in your irons, consider switching to graphite. Graphite is much better at absorbing vibrations than steel.
When you hit a shot, the shock of impact travels up the club shaft and into your body. This shock can irritate your hands, wrists, elbows, and shoulders. It also travels down through your core and into your lower joints. Graphite shafts cushion this blow.
Thicker grips allow you to hold the club with less tension in your hands and arms. When your grip pressure is light, your upper body stays relaxed.
This relaxation helps you maintain a smooth tempo. It also prevents you from tensing up during the downswing. A relaxed swing is much easier on your joints than a tense, jerky one.
When practicing on the range, tee up every ball. Hitting off artificial mats can be very hard on your body.
The hard surface beneath the mat does not give like real turf. Hitting down on the ball on a mat sends a massive shockwave through your joints. Teeing the ball up allows you to make clean contact without hitting the hard ground.
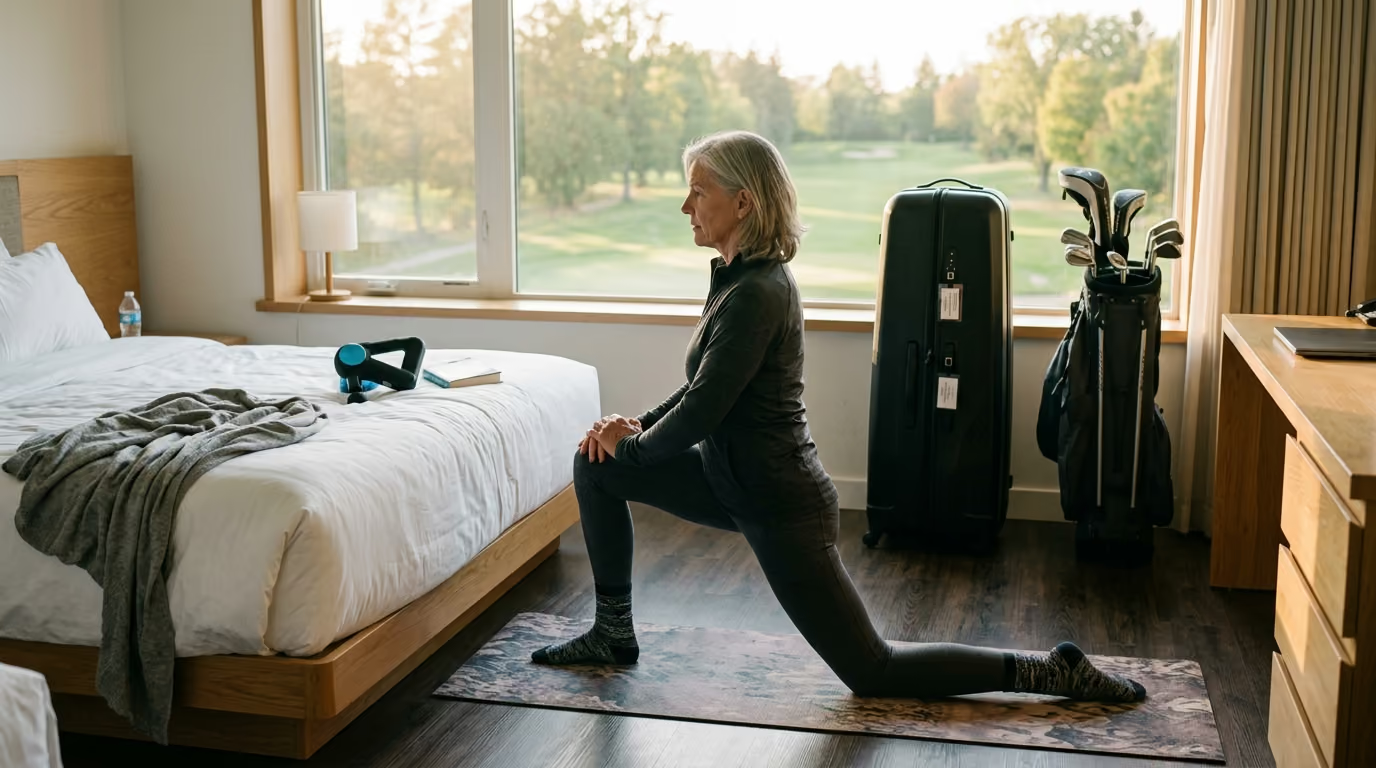
To keep playing golf for many years, you must maintain a dedicated physical routine. This routine should focus on building strength and mobility around your new joint. These exercises are designed to be done at home three times a week. Find more sustainable lifestyle habits in our resources section.
To perform this exercise, lie on your back with your knees bent and feet flat on the floor. Squeeze your buttocks and lift your hips toward the ceiling. Hold this position for three seconds, then slowly lower your hips back down.
Perform three sets of ten repetitions. This movement strengthens your gluteal muscles, which support your hips and pelvis. Strong glutes help control hip rotation during your golf swing.
Stand near a wall or a sturdy chair for support. Lift one foot off the ground and balance on your standing leg. Hold this position for 30 seconds.
Switch legs and repeat. To make this exercise more golf-specific, focus entirely on turning your trail hip slightly outward while balancing. This action builds the small stabilizer muscles around your joint.
Hold onto a stable surface like a kitchen sink or a door frame. Slowly lower your hips back and down as if you are sitting in a chair. Only go as low as is comfortable, keeping your knees behind your toes.
Push through your heels to return to a standing position. Perform two sets of twelve repetitions. This exercise builds the strength needed to support your knees during the downswing.
We can learn a lot from professional golfers who faced these exact challenges. Hal Sutton, the 1983 PGA Champion, underwent a total left hip replacement in 2012. He then had his right hip replaced in 2013. He successfully returned to the Champions Tour shortly after both surgeries.
Peter Jacobsen had his left hip replaced in 2006. He continued his professional career on the senior tour with great success. Mark McNulty is another excellent example of a player who returned to elite competition after a total knee replacement.
These professionals did not return to high-level play by rushing their recoveries. They worked closely with medical teams, adapted their swings, and committed to physical therapy. Their success shows that your golfing life can continue to thrive after joint replacement surgery.
Returning to golf after a joint replacement is a step-by-step journey. By following a structured protocol, you can protect your new joint while enjoying the game you love. Do not rush the process, and listen to your body at every step.
You should return to this guide before each major milestone in your recovery. Re-read the phase guidelines when transitioning from chipping to full swings. Check the swing modification section before your first round back on the course. Review the exercise routine if you feel your mobility starting to slip.
A structured, patient return to golf protects your new joint and allows you to play pain-free for years to come.
Follow Golfergy for practical insights on performance, mobility, recovery and healthy ageing. Stay connected for new articles, research-led guidance and ideas to help you play better for longer.


Explore practical resources on performance, recovery, mobility and golf longevity.
Read the Blog