Learn how to protect your lead side joints from golf-related injuries and improve your swing longevity by understanding biomechanics and proper body mechanics.




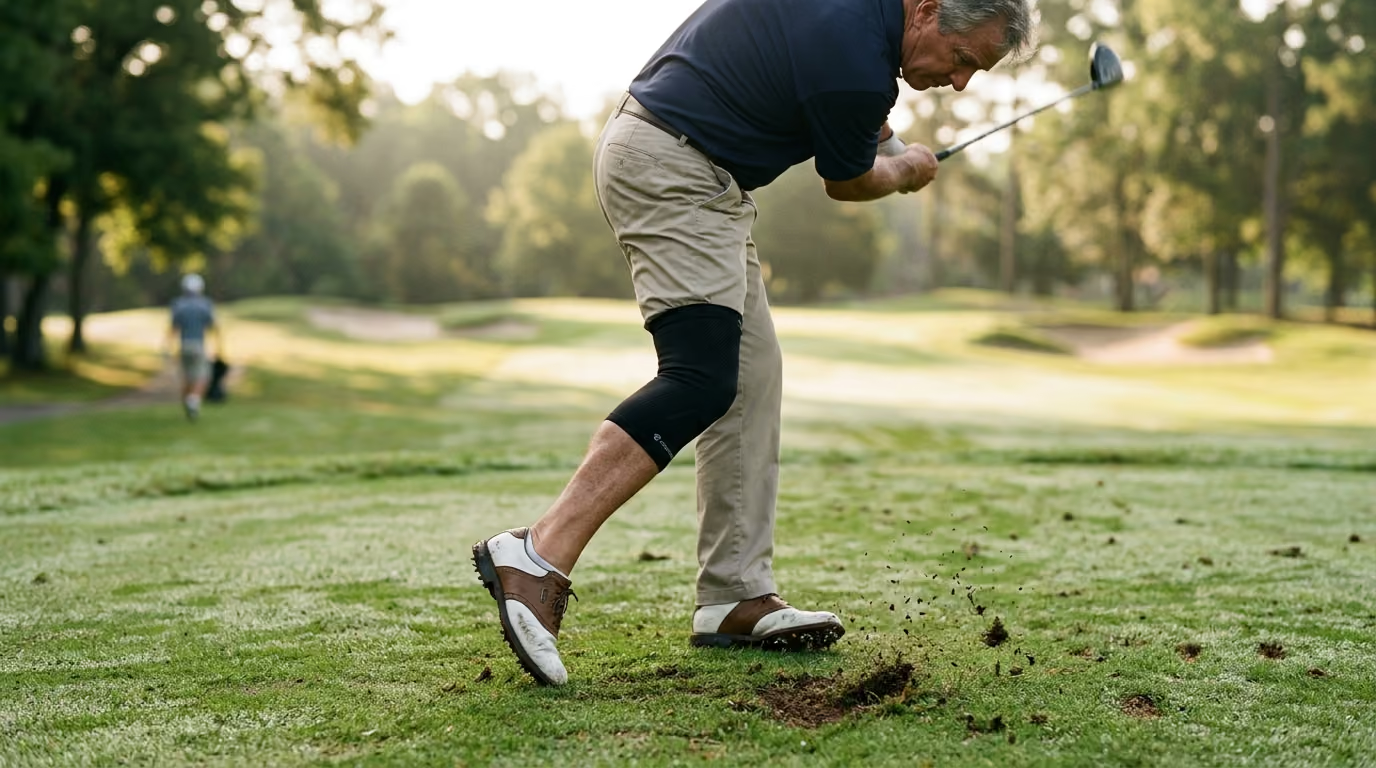
Standing on the fourteenth tee box, you can feel the physical toll of a long afternoon. Your score is respectable, but your body is starting to complain. As you swing your driver back and transition into the downswing, you feel a sharp pinch in your front shoulder. Your front knee wobbles slightly as you strike the ball, and your front hip feels tight as you try to turn through to the finish. The ball fades into the right rough, and you walk off the tee rubbing your lead arm.
This scenario is familiar to many experienced golfers. The lead side of your body is the unsung workhorse of your entire golf swing. For a right-handed golfer, this is the left side, while left-handed golfers use the right side. It must absorb and direct the immense forces you generate to hit the ball. When these front joints break down, your swing speed drops and your recovery time after a round gets much longer.
Many players try to solve these issues with quick swing fixes. However, the root cause is almost always physical. To keep playing without pain, you must learn how to protect these vital joints. You can learn more about managing your body by reading our golf performance, recovery, and longevity blog. Protecting your joints is the first step toward playing pain-free golf for many years to come.
To understand why the lead side is so vulnerable, you must look at how forces move through your body. During the downswing, your lead leg acts as the primary support for your entire motion. It acts as an anchor that holds you steady as your upper body rotates at high speeds.
This anchor must withstand incredible physical pressure. Biomechanical research shows that your lead leg absorbs forces approaching six to eight times your body weight. This pressure peak occurs in a fraction of a second just before impact. Your joints must absorb this downward and lateral force while turning rapidly.
The movement of energy through your body is called the kinetic chain. Power starts from the feet pressing into the turf. This energy travels up your lead leg, passes through your pelvis, and moves into your spine. Finally, the energy moves through your lead shoulder and down your arms into the club.
If any joint in this chain is stiff, the neighboring joints must work harder. For example, if your hips cannot rotate, your lead knee must twist to make room for your swing. This extra twist causes joint wear and tear. You can learn how to balance your body by exploring our about page, which explains our approach to healthy movement.
The lead shoulder is one of the most frequently injured areas in golf. Research in sports medicine shows that the lead shoulder is injured approximately three times more often than the trail shoulder. Some clinical reports state that over ninety percent of all golf-related shoulder problems occur on the lead side.
This high injury rate is due to the extreme positions the lead shoulder must reach. During the backswing, your lead arm is pulled tightly across your chest. This movement stretches the muscles and tendons in the back of your shoulder to their absolute limit. At the same time, it compresses the structures in the front of the joint.
During the downswing, this joint must rapidly change direction. It goes from deep compression to high-speed external rotation and elevation. If your upper back is stiff, your lead shoulder must stretch even further to complete your swing. This excessive stretching leads to micro-tears in the muscles.
Over time, these micro-tears can turn into rotator cuff issues or impingement. The rotator cuff is a group of four small muscles that keep your arm bone centered in its socket. When these muscles are weak or tired, the arm bone can slide upward. This upward shift pinches the sensitive tendons and fluid-filled sacs in your shoulder. Learn how to protect your upper body by browsing our injury prevention category page.
The rotator cuff acts as the main steering mechanism for your shoulder. In the golf swing, these muscles do not create speed. Instead, they work to keep the shoulder stable while larger muscles like your chest and back pull the club.
If the lead rotator cuff is weak, the joint loses its stability. During the follow-through, your lead arm flies upward and outward. Without strong rotator cuff support, the top of your arm bone rubs against your collarbone. This rubbing causes inflammation and makes lifting your arm painful.
This issue is common in golfers over forty because tendons naturally lose their elasticity with age. The pain often starts as a dull ache after a round. It can progress to a sharp pain when reaching for things on a high shelf. Protecting this area requires targeted stability work.
Your upper back, or thoracic spine, should be highly mobile. It is designed to turn from side to side. However, sitting at a desk or driving for long hours can make your upper back stiff.
When your upper back cannot turn, your lead shoulder must compensate. To get the club back far enough, you will tend to pull your lead shoulder blade off your rib cage. This movement is called protraction.
Protraction puts the shoulder joint in a weak and unstable position. It makes the muscles in the front of your chest tight and weakens the muscles in your upper back. To prevent this, focus entirely on turning your chest during your backswing. This simple focus reduces the strain on your lead shoulder.
Your lower body joints are also under constant pressure during the swing. The lead hip and knee must support your weight while rotating at high speeds. This combination of rotation and weight-bearing is highly stressful.
Studies show that eleven point nine percent of golfers experience lead hip pain. By comparison, only nine point one percent report trail hip pain. While this difference seems small, lead hip pain has a much larger impact on daily life. Golfers with lead hip issues show significantly lower quality of life scores.
The lead hip experiences very high peak internal rotational velocity during the downswing. Your hip joint must turn inward rapidly while supporting your weight. This rapid turn can cause pinching in the labrum, which is the ring of cartilage that lines your hip socket.
Interestingly, research in the Journal of Science and Medicine in Sport shows that trail hips have more labral tears. Trail hips show tears in thirty-seven percent of elite golfers, while lead hips show tears in sixteen percent. This difference is because of repetitive loading during the backswing. However, lead hip issues tend to cause more daily pain because of how we walk and stand. You can find recovery strategies for these hip issues on our recovery category page.
Your lead hip is responsible for stopping your body's rotation after impact. Once you hit the ball, your body must slow down safely. Your lead hip muscles must contract to control this deceleration.
If these muscles are weak, your hip joint will absorb the shock. This sudden stop can cause irritation in the hip socket. Over time, this irritation can lead to early osteoarthritis.
Building strength in your glute muscles helps you control this slowdown. Strong glutes act as brakes for your swing. They absorb the force of your turn and protect your hip joint from grinding.
The lead knee is another common site for golf injuries. During impact, the lead knee experiences high external forces that push it inward and outward. It also absorbs large vertical forces as you push off the ground.
If your lead hip is stiff, your knee must twist to help you turn. The knee joint is not designed to twist. It is a hinge joint that is meant to bend forward and backward.
Twisting the knee under a heavy load causes damage to the cartilage and ligaments. This twisting is a common cause of medial compartment knee wear. Keeping your hip mobile is the best way to keep your knee safe. You can learn more about protecting your joints by visiting our mobility category page.
Many joint issues start with common swing errors. These faults put unnecessary stress on your body. Correcting these errors can help you play without pain.
The slide fault occurs when your hips slide toward the target instead of rotating during the downswing. This movement pushes your hips past your lead knee.
When you slide, your lead knee is forced to bend sideways. This sideways bend puts high lateral stress on your knee ligaments. It also prevents your lead hip from opening properly.
Weak glute muscles often cause this sliding movement. Your body slides because it does not have the strength to rotate. Focusing on turning your lead hip back can help correct this issue.
Early extension happens when your pelvis shifts toward the golf ball during the downswing. This movement is often called "losing your spine angle."
This fault is usually caused by a lack of internal rotation in your lead hip. If your lead hip cannot turn inward, your body must find another way to move. To make room for the club, your hips push forward.
This forward shift forces your lower back to arch. It also puts your lead knee in a straight, locked position. This locked position increases the impact forces traveling up your leg.
The chicken wing occurs when your lead elbow bends and flares outward through impact. This movement looks like a bent wing.
This fault is usually a compensation for a stiff lower body. If you fail to clear your lead hip, your body stops turning. Since your body is not moving, your arms must bend to pull the club through.
This bending pulls on the tendons in your lead elbow and shoulder. It is a common cause of golfer's elbow. Clearing your hips allows your arms to swing naturally without bending.
Spinning out happens when your lead hip rotates straight back toward your heel without any downward force. This movement causes your front foot to spin or slide on the turf.
When you spin out, you lose your connection to the ground. This loss of stability means your upper body must work harder to create speed. This extra effort strains your lead shoulder.
To prevent this, you must build proper foot pressure. You must press down into the ground before you turn. This downward pressure stabilizes your lower body and protects your joints.
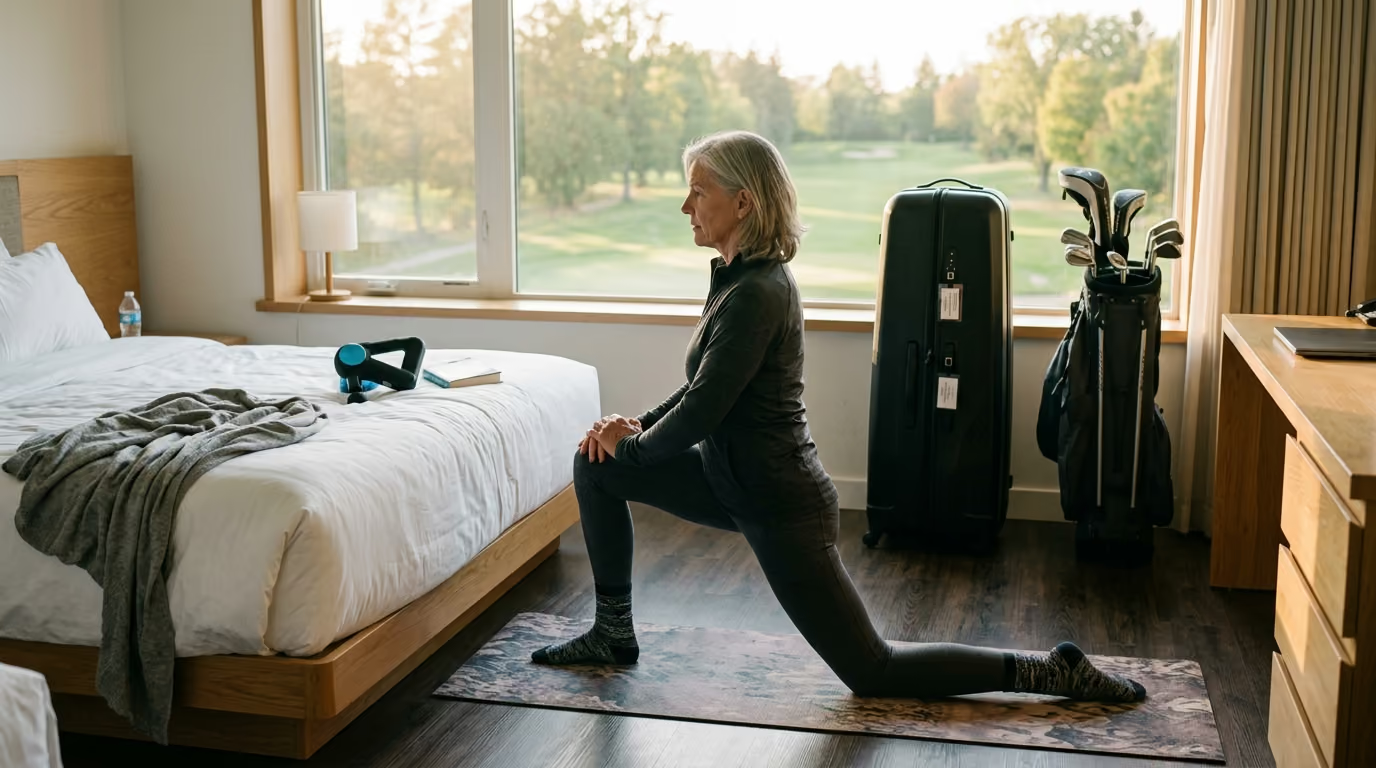
You do not have to wait until you get home to protect your joints. There are simple changes you can make during your next round. These adjustments can offer quick relief from joint stress.
One of the simplest ways to protect your lead knee and hip is to flare your lead foot. At address, turn your lead foot outward toward your target by twenty to thirty degrees.
This small turn pre-rotates your lead hip. It makes it much easier for your hips to turn open during the downswing. It also reduces the twisting force on your lead knee.
Flaring your foot is highly helpful for golfers with limited hip mobility. It provides a natural release valve for the forces in your swing. Try this change on your very next tee shot.
To prevent spinning out and protect your front knee, use the "Squash the Spider" feel. As you start your downswing, focus entirely on pressing the ball of your lead foot into the ground.
Imagine there is a spider under the ball of your foot. You must squash this spider before you start to rotate. This feel keeps your weight centered and stable.
This downward pressure helps you transfer your weight correctly. It stops your hips from sliding sideways. It also confirms that your lead knee is in a strong position to support your swing.
To eliminate the chicken wing and protect your lead shoulder, try the club drag feel during your practice swings. Set your club head a few inches behind an imaginary ball.
Instead of lifting the club back, drag it forward along the ground. Focus entirely on turning your chest and hips to move the club. Do not pull the club with your arms.
This dragging movement forces your body to rotate. It keeps your lead arm straight and connected to your chest. This connection protects your shoulder and elbow from extra strain. You can learn more about managing swing mechanics on our golf performance category page.
For long-term joint health, you need a regular exercise routine. A smart routine focuses on building strength and mobility in key areas. This training helps your body handle the forces of the swing.
When dealing with joint pain, you should follow a specific progression. Start with isometric exercises, which involve holding a position without moving.
Research in sports medicine shows that isometric exercises help reduce tendon pain. They also help wake up muscles that have stopped working because of pain. This waking up process reduces what doctors call cortical inhibition.
Once you can perform isometric moves without pain, you can move to isotonic exercises. Isotonic exercises involve moving a weight through a range of motion. This progression builds lasting strength and resilience. To read more about building golf-specific strength, visit our strength category page.
To protect your lead shoulder, you must strengthen your rotator cuff. You can do this with a simple wall press.
Stand next to a wall with your lead side facing it. Bend your elbow to ninety degrees and press the back of your hand into the wall. Hold this press with moderate effort for thirty seconds.
Repeat this exercise three times. This isometric hold strengthens the muscles that stabilize your shoulder joint. You can do this simple exercise at home or in the office.
To protect your lead hip and knee, you must activate your glutes. A great exercise for this is the side-lying clamshell.
Lie on your side with your knees bent and your feet together. Slowly lift your top knee while keeping your feet touching. Focus entirely on turning your top hip to lift your knee.
Perform two sets of fifteen repetitions on each side. This exercise strengthens the outer hip muscles. These muscles are key for preventing your hips from sliding during your swing.
To protect your lead knee, you must strengthen your thigh muscles. Wall sits are an excellent choice for this.
Lean your back against a flat wall and slide down until your knees are bent. Keep your feet flat on the floor. Hold this position for thirty to forty-five seconds.
Perform three holds with a brief rest in between. This exercise builds isometric strength in your quadriceps. This strength helps keep your kneecap aligned and protects the joint from wear.
Your equipment can also affect how much stress your joints absorb. Making small changes to your gear can help protect your body.
The shoes you wear can change how your body interacts with the turf. Heavy shoes with long, aggressive metal spikes lock your feet into the ground.
While this locking provides great traction, it also increases twisting forces on your knees and hips. If your lead foot cannot move at all, your joints must absorb all the rotational force.
Consider switching to spikeless shoes or shoes with flexible plastic cleats. These designs allow for a small amount of slip during your swing. This tiny slip acts as a safety valve for your lead knee.
The size of your golf grips can also affect your lead shoulder and elbow. If your grips are too small, you will tend to squeeze the club too tightly.
This extra squeeze creates tension that travels up your arms. This tension makes your muscles stiff and increases the stress on your joints.
Try using midsize or jumbo grips on your clubs. Larger grips allow you to hold the club with lighter pressure. This light grip pressure helps keep your lead arm and shoulder relaxed.
Your stance width plays a key role in how your hips and knees move. A stance that is too wide makes it very difficult for your hips to rotate.
If your hips cannot rotate, your body will tend to slide. As we discussed, this sliding increases the lateral forces on your lead knee.
By contrast, a study in Scientific Reports found that a very narrow stance is a risk factor for lead knee wear. A narrow stance increases the vertical pressure on the inner side of your knee. Aim for a stance that is shoulder-width apart for your mid-irons, and widen it slightly for your driver.
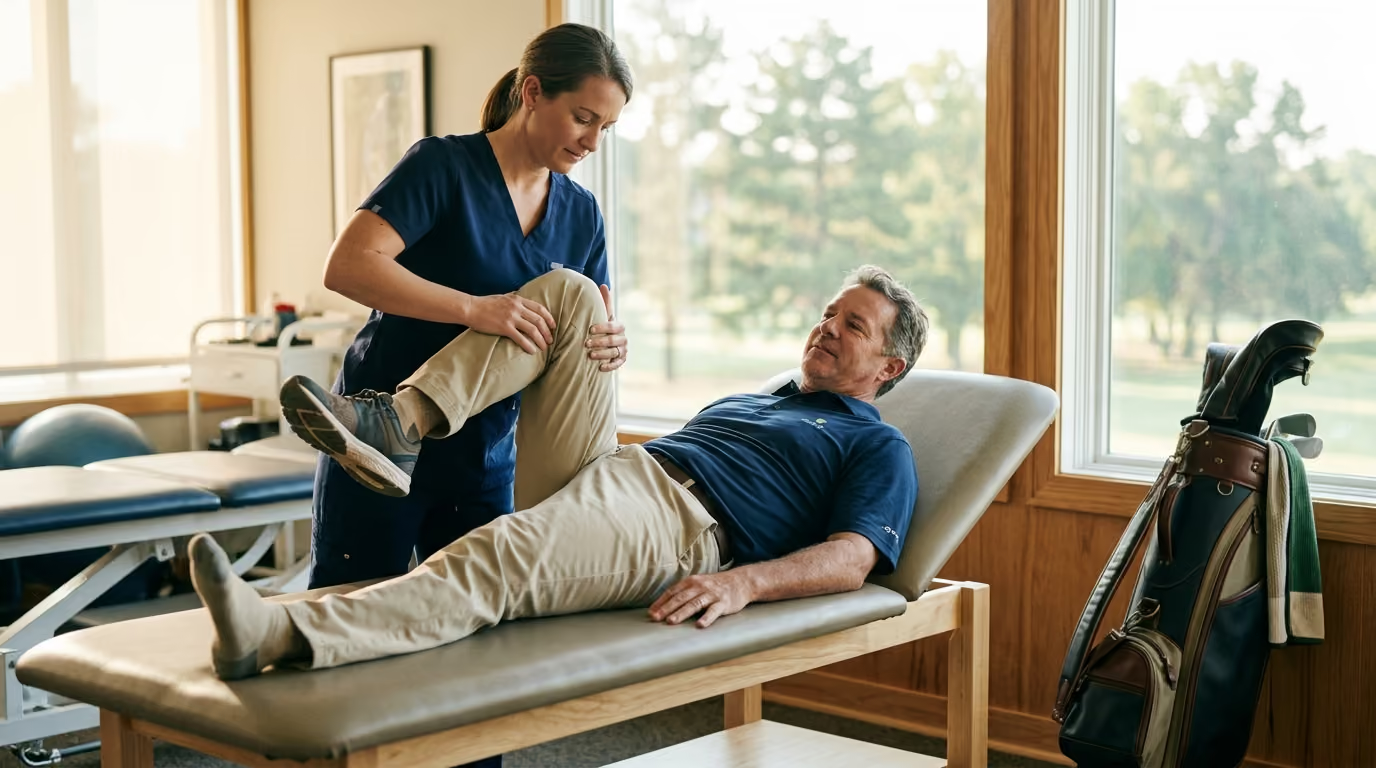
If you are recovering from a lead-side injury, you must not rush back to the course. Returning too soon can lead to chronic issues.
Sports medicine specialists use specific rules to decide when a player is ready. These rules help verify that your body can handle the stress of a full swing.
Before you return to play, you should achieve ninety percent or greater limb symmetry in strength. This means your injured side should be nearly as strong as your healthy side.
You can test this balance with simple strength exercises. Compare how much weight you can lift with your lead leg versus your trail leg.
Also, compare the strength of your lead shoulder to your trail shoulder. If your lead side is still weak, continue with your strength routine before playing.
When you start playing again, progress slowly. Do not go straight to the first tee and swing your driver as hard as you can.
Start by spending time on the putting green and chipping area. This low-impact practice helps your body get used to movement.
Next, move to half-swings with your short irons on the practice range. Slowly increase your swing speed over several weeks. Only make full swings with your driver when you are completely pain-free.
This guide is designed to be a long-term reference for your golf journey. You may not need all of this information today, but keep it handy.
Revisit this resource if you start to feel a dull ache in your lead shoulder after a round of golf. Read these steps again if your lead knee feels unstable on uneven lies.
Reviewing these exercises before your spring golf season starts is also a great habit. If you have any questions about these routines, you can contact us through our contact page or explore our other golf performance resources.
Expert Takeaway: Flaring your lead foot and rotating your hips instead of sliding them is the ultimate way to shield your lead-side joints from the heavy impact of the golf swing.
Follow Golfergy for practical insights on performance, mobility, recovery and healthy ageing. Stay connected for new articles, research-led guidance and ideas to help you play better for longer.


Explore practical resources on performance, recovery, mobility and golf longevity.
Read the Blog