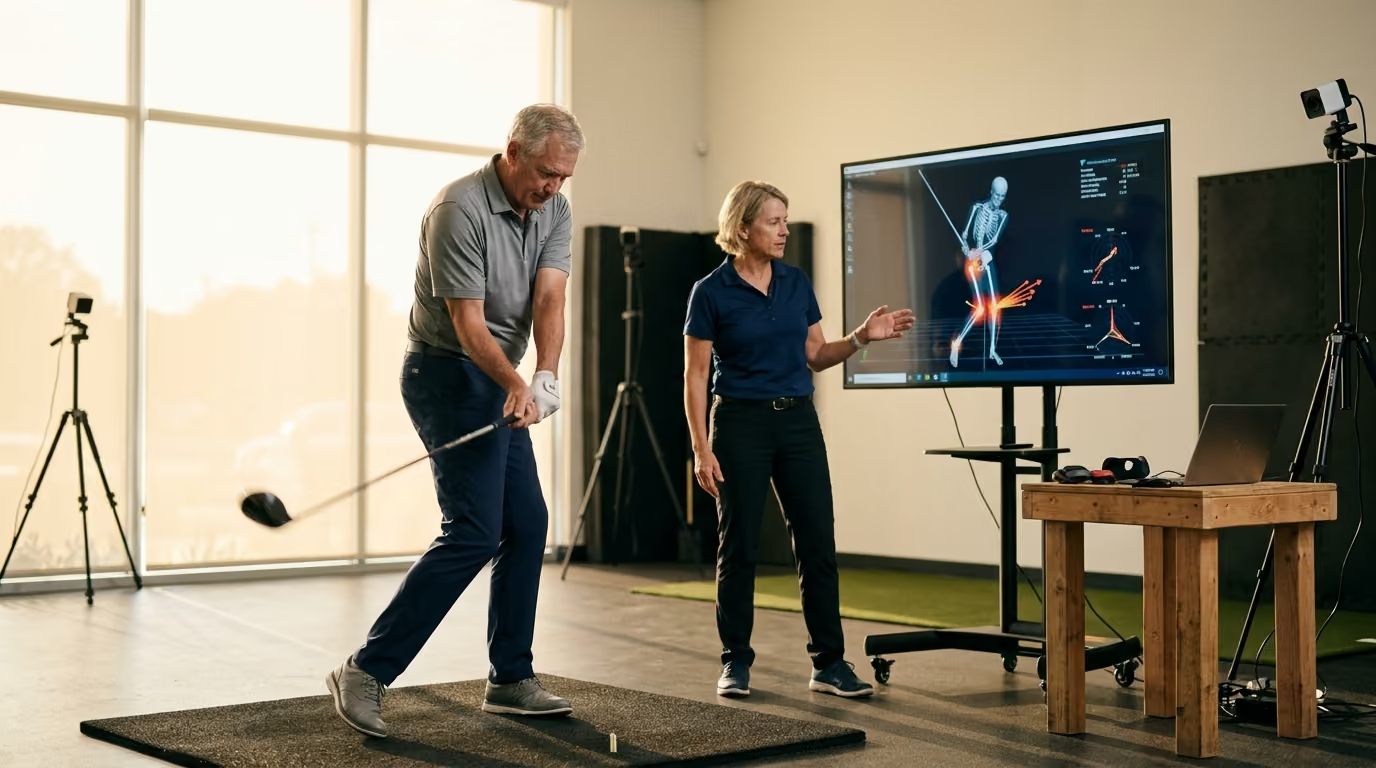

Learn how to manage the biomechanical forces on your lead knee during the golf swing to prevent pain and injury, ensuring you can play golf for years to come.




Many golfers search the internet for answers when they feel a sharp ache in their front leg after a long day on the course. You might type terms like "left knee pain after golf swing" or "how to protect your lead knee." This guide provides a definitive, research-backed framework to address those questions. We will examine the forces moving through your joint and provide practical ways to keep playing without pain.
The lead knee is the target-side knee. For a right-handed golfer, this is the left knee. During a standard swing, this joint experiences rapid movement and heavy loading. Managing these forces is key to protecting your cartilage and ligaments over years of play.
Our goal is not to eliminate joint movement. Instead, we want to build a balanced system that distributes the work across your entire lower body. By making small adjustments to your setup and movement habits, you can protect your joints and maintain your clubhead speed.
You are standing on the tee box of the fourteenth hole. You have played well, but you start to feel a familiar, dull ache in your front knee. As you transition into your downswing, you feel a brief catch or pinch inside the joint. Your body instinctively slows down to protect itself. You slide your hips instead of turning them, and your ball slices into the right trees.
A few years ago, I noticed my swing falling apart around the 14th hole. My lower back would tighten up, and I started compensating with my arms. I spent months thinking it was a swing flaw. It was not until I started a simple evening hip mobility routine that I realized my glutes were just turning off from fatigue. Fixing that one physical limitation brought my back nine scores down drastically.
When you cannot rotate your hips, your lead knee must take on extra twisting forces. The knee is built to bend and straighten. It does not tolerate heavy twisting while carrying your body weight. When you force it to twist, the tissues inside the joint begin to wear down.
This scenario is common for golfers over forty. The body loses some natural hip rotation over time. Without realizing it, we ask our knees to make up for the stiff joints above and below them.
To protect your lead knee, you must understand how it functions during the swing. The knee is a hinge joint positioned between the hip and the ankle. It is meant to control forward and backward movement. It also allows a very small amount of rotation when it is slightly bent.
During the golf swing, the lead knee must manage several forces at the same time. These forces include compression, shear, and rotation. Compression is the force that presses your thigh bone and shin bone together. Shear is the force that tries to slide those bones past each other. Rotation is the twisting of your shin bone relative to your thigh bone.
Inside the joint, two C-shaped pieces of cartilage called the menisci act as your shock absorbers. They distribute your body weight and help control rotation. If the twisting force is too high while the knee is compressed, these shock absorbers can pinch or tear.
Another key protector is the anterior cruciate ligament, or ACL. The ACL stops the shin bone from sliding too far forward. In a golf swing, the ACL experiences its highest stress just after impact. If your knee is too straight or twists too fast, the strain on this ligament increases.
Research shows that golf is not a low-load sport for your joints. Biomechanical studies have measured the forces inside the knee during a standard swing. These studies show that the compression force on the lead knee can reach between 100% and 440% of your body weight.
The variance depends on how fast you swing and how you shift your weight. When you use an instrumented knee implant to measure forces directly, the numbers often land between 320% and 440% of body weight. This is a substantial load for a joint that is also twisting.
At the same time, the knee experiences external moments. An external moment is a force that tries to tilt your knee inward or outward. In older golfers, the inward force at the lead knee is much higher during a golf swing than during normal walking. This force correlates directly with your clubhead speed.
The danger arises when these forces happen while the knee is nearly straight. When your knee is straight, the surrounding muscles have less leverage to protect the joint. The bones and ligaments must absorb the forces instead. This is why we must focus on controlled movement rather than rigid locking.
You can change the physical stress on your lead knee by making small adjustments to your setup. A study from 2023 looked at how a straight stance compares to an open stance. The researchers tested amateur golfers using different clubs, from the driver to the short irons.
Opening your lead foot by flaring your toes toward the target makes a significant difference. The study found that an open stance reduced lead-knee rotation by approximately 28%. It also lowered the compression force by about 5% and reduced the twisting torque by 9%.
The club you choose also changes the load on your joint. The driver produces much larger forces and torques in the lead knee than shorter irons. If you are managing knee irritation, you can reduce your driver practice and use shorter clubs to stay active.
Another useful adjustment involves your ball position. Research shows that moving the ball one ball-length backward toward your trailing foot reduces the peak twisting force on the lead knee by 13.8%. Moving the ball one ball-length away from the target reduces the outward tilting force by 11.5%. These small shifts can relieve pressure on sensitive joint tissues.
If your lead knee begins to ache during a round, you need an immediate way to reduce the load. Do not try to fight through the pain by swinging harder. Instead, make a quick adjustment to your stance before your next shot.
First, flare your lead foot toward the target at a forty-five-degree angle. This opens up your hip and allows your pelvis to turn more easily. Second, narrow your stance by moving your trailing foot a few inches closer to your lead foot. A narrower stance reduces the side-to-side force on your knee.
Third, focus entirely on turning your trail hip during the backswing. Let your trail heel lift slightly if you feel stiff. This simple movement prevents your body from swaying and keeps the weight from loading too heavily on the outside of your lead leg.
Finally, allow your lead heel to rise slightly during the backswing if your knee feels tight. This release relieves the rotational tension on your knee ligaments. These simple steps help you finish your round without causing further irritation to the joint.
To help protect your joints on the course, you can read our guide on injury prevention strategies.
To build lasting joint health, you need a systematic approach that addresses the root causes of knee stress. This six-phase protocol is designed to help you build strength, improve mobility, and manage your swing volume.
Before you change your exercise routine, you must track your current physical state. Keep a simple daily journal to record your joint sensations. Note any pain when you wake up, after walking, or during your practice sessions.
Watch for swelling in the lead knee after a round of golf. Delayed swelling is a clear sign that your joints are taking on more load than they can handle. If you experience true joint locking or if your knee gives way, seek an evaluation from a medical professional.
If your knee is actively throbbing or swollen, you must calm the irritation first. Avoid testing the joint with full-speed swings. Focus on resting the leg for a few days while keeping the tissue calm.
Use ice wrapped in a thin towel for fifteen to twenty minutes at a time. Keep your leg elevated when you are sitting. You can also use a light compression sleeve to help manage any mild fluid buildup inside the joint.
Once the sharp pain subsides, you must regain your natural range of motion. The primary goal is to get your knee completely straight. A knee that cannot fully straighten will experience higher forces during normal walking and swinging.
Begin with gentle heel slides while lying on your back. You can also use a stationary bicycle with low resistance to help move fluid through the joint. Walk on level ground before you try to walk on hilly golf courses.
For more on joint movement, check our resources on improving knee mobility.
Your muscles are the primary active stabilizers of your knee joint. The quadriceps on the front of your thigh and the hamstrings on the back must work together to control the bones.
Start with isometric quadriceps holds. Sit on the floor with your leg straight and press the back of your knee down into a rolled towel. Hold this contraction for ten seconds, then release. Repeat this ten times to build strength without aggravating the joint.
Add simple glute bridges to strengthen your hips. Lie on your back with your knees bent and feet flat on the floor. Squeeze your buttocks and lift your hips toward the ceiling. Focus entirely on turning your trail hip and lead hip on to support your lower body.
You can learn more about building lower body power in our section on strengthening the lower body.
After building basic strength, you must teach your body to rotate safely. This phase connects your muscle power to the specific demands of the golf swing.
Stand in your golf posture without a club. Practice turning your torso while keeping your weight centered over your feet. Make sure your lead hip turns backward rather than sliding toward the target. This movement helps your hip absorb the twisting force instead of your knee.
Progress to slow-motion practice swings. Focus on a smooth transition from your backswing to your downswing. Avoid any sudden, jerky movements at the bottom of your arc.
The final phase is managing how you practice. Do not go to the driving range and hit one hundred drivers in a row. This repetitive stress can cause tissue fatigue.
Instead, structure your sessions by mixing in short-game practice. Hit five wedges, then three mid-irons, then one driver. This variety prevents your joints from experiencing the same repetitive force over and over.
Many golfers make simple mistakes when they try to protect their joints. These errors often increase the very forces they are trying to avoid.
The first mistake is trying to keep the lead knee completely still. Some players believe that freezing the knee prevents wear. In reality, a rigid knee cannot absorb ground forces. This rigidity transfers the impact straight into the joint cartilage and can lead to lower back issues.
The second mistake is ignoring delayed swelling. Your knee might feel fine during your round because your body is warm. If you wake up the next morning with stiffness or mild swelling, your joint was overloaded. You must adjust your swing volume or your stance to prevent long-term wear.
The third mistake is using a square stance when you have stiff hips. If your hips do not turn easily, your knee must twist to let you complete your swing. Forcing a square stance under these conditions puts your ligaments at risk. Flaring your lead foot is a simple way to create space for your hips to move.
Your gear plays a significant role in how forces travel from the ground up to your knee. The connection between your shoes and the turf determines the amount of torque your joint must manage.
Spiked golf shoes offer excellent traction, but they can lock your feet into the ground. If your foot cannot move at all, your knee must absorb all the twisting force of your swing. If you have history of knee pain, spikeless shoes may be a better option. Spikeless shoes allow a small amount of natural foot slippage during the follow-through, which relieves joint pressure.
The stiffness of your shoe sole also matters. A shoe with a highly rigid sole can restrict ankle movement. When your ankle is stiff, your knee has to work harder to keep you balanced. Look for shoes that offer support but still allow your foot to bend naturally.
Using a push cart instead of carrying your bag can also protect your joints. Carrying thirty pounds of gear adds extra compression to your knees with every step. A push cart or a riding cart keeps that extra weight off your lower body.
For more equipment and performance tips, visit our golf performance program.
If you are returning to golf after a meniscus tear or knee surgery, you must follow a structured return-to-play framework. Do not base your return on a calendar date alone. You must meet specific functional goals before you hit full-speed shots.
First, you must have full, pain-free range of motion. Your lead knee should straighten and bend just as well as your trailing knee. Second, you should have no swelling after normal daily activities like walking or climbing stairs.
Third, you should have comparable strength in both legs. A simple physical therapist test is the single-leg squat. You should be able to perform a controlled single-leg squat on your lead leg without your knee collapsing inward.
Surgical decisions also affect your long-term joint health. If you have a meniscal tear, research shows that preserving as much functional cartilage as possible is vital. A study from 2024 showed that patients who had a meniscus repair had much lower rates of arthritis progression than those who had the tissue removed. Work with your doctor to choose the most conservative path for your long-term playing years.
To learn more about staying healthy as you age, read our articles on healthy ageing methods.
You can start protecting your lead knee during your very next round of golf. Use this simple checklist this week to modify your joint loads and stay pain-free.
By focusing on these small adjustments, you can keep your joints healthy and enjoy the game for years to come.
Your lead knee must be strong enough to handle rotational loads, but it should never be locked into a rigid position that forces your cartilage to absorb all the impact.
Follow Golfergy for practical insights on performance, mobility, recovery and healthy ageing. Stay connected for new articles, research-led guidance and ideas to help you play better for longer.


Explore practical resources on performance, recovery, mobility and golf longevity.
Read the Blog


