
Discover how to restore hip mobility, protect your joints, and improve your golf swing with a step-by-step protocol designed for lasting performance.




Hip mobility in golf is the physical capability of your joints to turn freely without placing stress on your spine. It is not a series of aggressive stretches that force your body into painful positions. Real mobility requires your leg bone to fit perfectly inside your hip socket during the swing. This comprehensive guide provides a clear path to improving your rotation, protecting your joints, and playing without pain.
Many mature golfers believe that their loss of yardage is simply a natural part of getting older. They assume their muscles are getting weaker. Often, the real culprit is a gradual loss of joint space in the hips. When your hips cannot turn, your swing must find another way to create speed. This compensation usually damages your lower back and knees.
This resource will examine the biomechanics of the hip joint. We will outline the specific demands placed on your lead hip during the golf swing. You will learn how to test your own movement at home. Finally, we will provide a step-by-step protocol to restore your movement and keep you on the course for years to come.
Improving your joint movement is the most reliable way to maintain swing speed. By focusing on joint space, you can swing with less effort. You will also protect your body from the wear and tear that cuts many golf careers short. Let us examine how these joint limitations show up during your round.
You are standing on the fourteenth tee box of a long round. Your tee shots were flying straight and far during the first nine holes. Now, you notice a familiar dull ache starting in your lower back. Your ball flight has turned into a weak fade, and you cannot seem to finish your swing. Your body is running out of room to turn.
This scenario is common for golfers over forty. When your lead hip lacks internal rotation, your body cannot clear out of the way on the downswing. The lead hip is the joint closest to the target. For a right-handed golfer, this is the left hip. During the downswing, your pelvis must turn rapidly around this single joint.
If this joint is locked, your swing will break down in predictable ways. Your nervous system knows that hitting a solid wall will cause pain. To protect your hip, your body stops the rotation of your pelvis. It then substitutes other movements to help you finish the swing. These movements are known as swing faults.
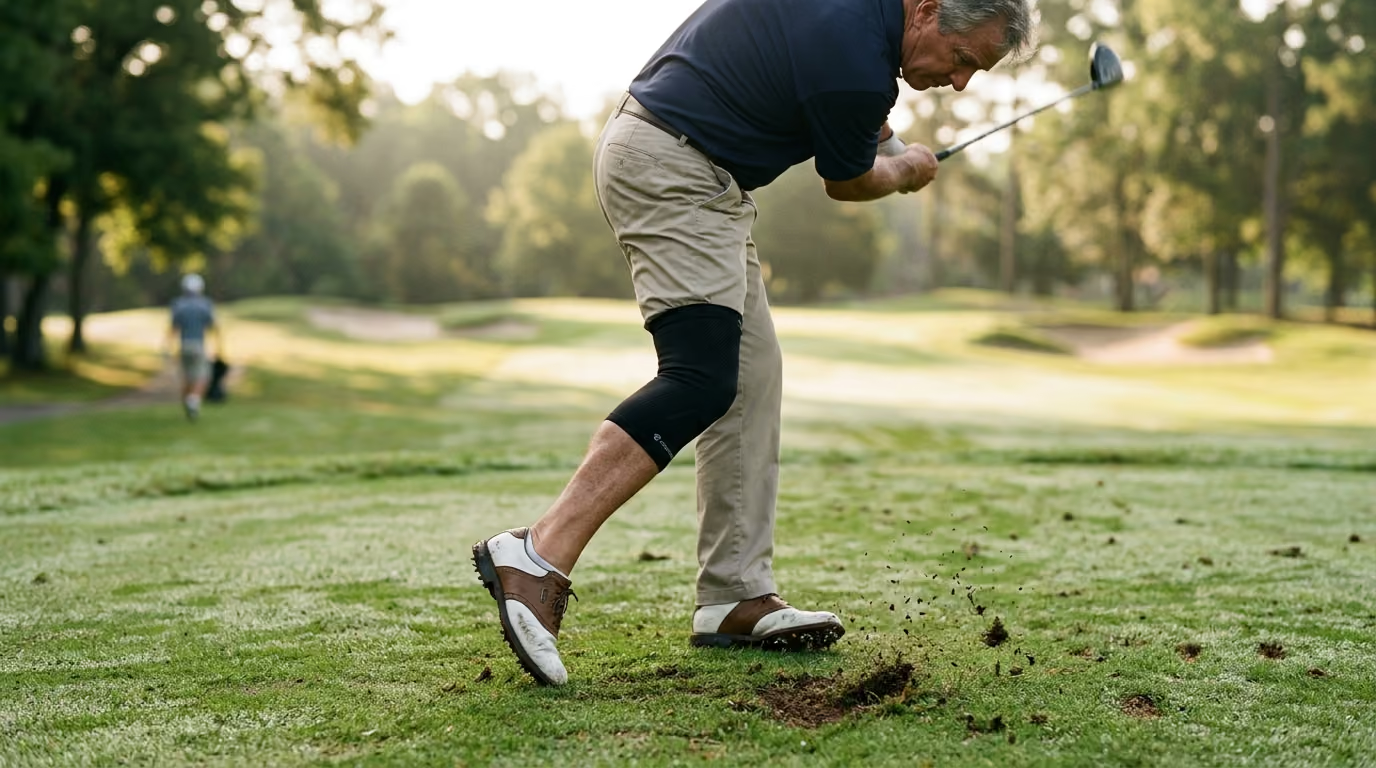
The first common pattern is early extension. When you cannot turn your lead hip, your pelvis shifts forward toward the golf ball. Your hips move closer to the target line during the downswing. This occurs because your body is seeking any available space to swing the club.
This movement forces you to stand up out of your posture. Your spine loses its tilt, and your arms must flip at the ball to make contact. You will feel this in your lower back after the round. This posture change places massive compression forces on your lumbar spine.
The second common pattern is the lateral slide. Instead of rotating your pelvis, your hip and knee slide sideways toward the target. This slide prevents you from transferring your weight properly. It also prevents you from creating a stable pivot point.
Sliding creates extreme shear force on the outside of your lead knee. It also prevents you from hitting the ball first and the turf second. You will often hit shots fat or thin when you slide. Your swing becomes highly dependent on perfect timing.
The third pattern is the sway, which typically begins during the backswing. When your trail hip cannot accept your weight, your pelvis shifts laterally away from the target. You cannot load into your hip socket. This lateral movement makes it very difficult to return to a good impact position.
Your head will move off the ball during the backswing. You must then slide back during the downswing to avoid hitting behind the ball. This back-and-forth movement destroys your consistency and reduces your clubhead speed. It also increases the physical stress on your joints.
To understand why this joint is so important, we must look at basic anatomy. The hip is a ball-and-socket joint. The head of your thigh bone, or femur, sits inside the socket of your pelvis, which is called the acetabulum. For healthy movement, the ball must stay centered in the socket. This state is known as joint centration.
During the downswing, your lead hip must perform lead-hip internal rotation. This means your pelvis turns toward your target while your lead thigh bone remains relatively stable. If the ball of the joint shifts out of the center, it hits the rim of the socket. This contact can pinch the soft tissue and cause pain. This painful contact is called hip impingement.
Many golfers suffer from the rotation fallacy. They believe that hip rotation is a single, active firing of the pelvic muscles. In reality, rotation is often an illusion created by linear retraction. Your lead hip pulls backward away from the ball while your lead foot pushes into the ground. This ground force is what drives the rotation of your pelvis.
The human body operates on a mobility-stability continuum. This concept states that your joints must alternate between being mobile and being stable. The foot must be stable to grip the ground. The ankle must be mobile to bend. The knee must be stable to prevent sideways buckling.
The hip is designed to be highly mobile in all directions. Above the hip is the lumbar spine, which is designed to be highly stable. The lower back has very little rotational capability. If your hip joint loses its mobility, your body will force your stable lumbar spine to twist. This twisting is the primary cause of golf-related lower back pain.
The physical demands placed on your lead hip during the swing are intense. Research shows that the lead hip experiences a rotational velocity of 227.8 degrees per second during the downswing. In contrast, the trail hip only experiences 145.3 degrees per second. Your lead hip must rotate much faster than your trail hip.
During this explosive movement, golfers use eighty-four percent to one hundred thirty-one percent of their available internal rotation. You are pushing your joint to its absolute physiological limit. If you do not have enough passive mobility, you will force the joint past its safe boundaries. This leads to micro-trauma inside the joint capsule.
This repetitive stress can cause serious physical damage over time. A study of professional golfers by Philippon et al. found that sixteen out of sixteen subjects had labral tears. The labrum is the ring of cartilage that cushions your hip socket. Most of these tears occurred in the front and top portions of the joint.
Amateur golfers with lower back pain show a distinct physical profile. Studies show they typically have eight to ten degrees less lead hip internal rotation than players without pain. This small deficit has a massive impact on your longevity. Lower back conditions account for twenty-five to fifty-four percent of all golf injuries.
In professional golfers, the rotation of the lumbar spine and the hips is distributed evenly. In mature amateurs, the lack of hip movement forces the lower back to take on a disproportionate load. Improving your hip movement is not just about gaining yards. It is about protecting your spine from premature wear and tear.
You cannot perform deep mobility drills in the middle of a round. You can, however, use simple adjustments to relieve joint pressure. These quick fixes do not cure the underlying physical issue. They do offer an immediate way to protect your joints and finish your round comfortably.
The most effective quick fix is to adjust your lead foot at setup. This adjustment is called flaring your lead toe. Turn your lead foot outward toward the target by twenty to thirty degrees. This simple change immediately opens your lead hip.
Flaring your foot pre-rotates your thigh bone inside the socket. It reduces the amount of internal rotation your hip must perform during the downswing. This adjustment reduces the risk of joint impingement. It also allows you to clear your pelvis more easily at impact.
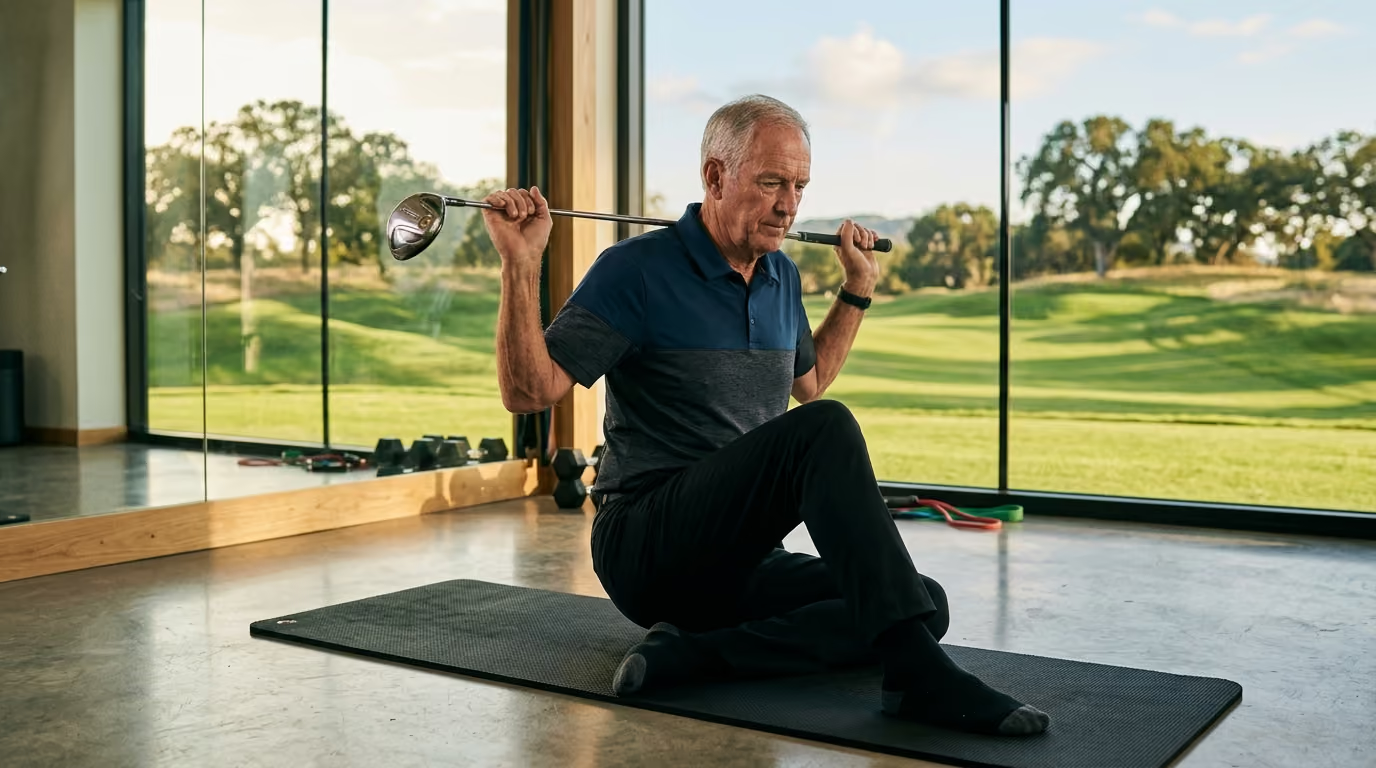
Another quick option is to perform a gentle dynamic movement on the tee box. Stand with your feet wide and hold a club across your shoulders. Focus entirely on turning your trail hip back, then slowly shift your weight and turn your lead hip through. Move slowly and do not push into any pinching sensations. This movement helps lubricate the joint before you swing.
Before you begin any exercise program, you must understand your current physical limits. You can perform two simple screening tests at home. These tests will help you determine if your movement is limited by muscle tightness or bony structure. Always perform these tests slowly on a comfortable surface.
To perform this test, sit on a firm chair or table. Your thighs should be flat on the surface, and your knees should bend at ninety degrees. Your feet should hang freely above the floor. Keep your knees together throughout the test.
Slowly swing your right foot outward away from your left leg. Keep your pelvis flat on the chair and do not let your thigh lift. This outward movement of your foot actually rotates your thigh bone inward at the hip joint. Have someone take a photo of your leg from the front to measure the angle.
Repeat this test on your left leg. A healthy hip should have at least thirty degrees of internal rotation. If your leg moves less than twenty degrees, your hip is severely restricted. Compare your right leg to your left leg to find any imbalances.
The 90/90 test is an excellent way to assess your rotational capacity. Sit on the floor with your right leg in front of you. Bend your right knee to ninety degrees so your shin is parallel to your chest. Your right thigh should point straight ahead.
Place your left leg to your left side. Bend your left knee to ninety degrees so your left shin is parallel to your right thigh. Your knees and hips should both form ninety-degree angles. Try to sit completely upright without using your hands for support.
If you cannot sit upright, your hips are tight. If you must lean heavily to one side, you lack rotation. Pay close attention to any pinching in the front of your hip. A pinch indicates a structural block, while a deep stretch in the glute indicates muscle tightness.
To build lasting joint space, you must follow a structured plan. This plan should move from simple passive releases to active strength movements. We call this the "Assess, Unlock, Load, Integrate" framework. Perform this routine three times per week to see lasting changes in your mobility.
The first phase focus is to reduce protective muscle stiffness around the joint. We do this by creating space in the back of the hip capsule. This space allows the thigh bone to sit deeper in the socket.
[90/90 Position] ──> [Gentle Pelvic Tilt] ──> [Exhale & Sink] ──> [Switch Sides]
To begin, get into the 90/90 position on the floor with your left leg in front. Place your hands on the floor for support if needed. Keep your chest tall and slowly tilt your pelvis forward. This movement should feel like you are tipping water out of the front of your belt.
Hold this position and breathe out slowly for five seconds. Focus entirely on turning your lead hip into the floor. You should feel a deep stretch in your left glute, but no pinching in the front of your hip. Hold this position for two minutes, then switch sides.
Next, perform Figure-4 Hip Drops. Lie on your back with your knees bent and feet flat on the floor. Place your left ankle over your right knee. Slowly lower your legs to the left side until your left foot touches the floor.
Hold this position for thirty seconds while breathing deeply. This movement stretches the deep rotators on the outside of your hip. Slowly return to the starting position and repeat on the other side. This phase prepares your nervous system for active loading.
Passive stretching is not enough to change how you move on the golf course. You must teach your brain how to control your new range of motion. The hip airplane is the best exercise for building active control.
Stand on your left leg with your knee slightly bent. Place your hands on a wall or the back of a sturdy chair for support. Lean your torso forward while extending your right leg straight behind you. Your body should form a straight line from your head to your back heel.
[Wall Support]
│
[Head] ───┴───[Pelvis] ─── [Back Leg] (Straight)
│
[Lead Leg] (Slightly Bent / Foot Flat)
Slowly turn your pelvis toward your standing leg. Focus entirely on turning your trail hip toward the floor. This movement creates intense internal rotation in your standing hip. Keep your standing foot flat on the floor and do not let your arch collapse.
Hold this position for two seconds, then rotate your pelvis open toward the ceiling. Perform eight slow repetitions on each side. This exercise builds strength in your gluteus medius, which is vital for pelvic stability. It also teaches your brain how to rotate your pelvis around a stable thigh.
Once you have active control, you must train your hip to handle weight. The lateral lunge teaches your body to absorb force in a sideways direction. This movement mimics the transition phase of your swing.
Stand with your feet together and hold a light weight at your chest. Take a wide step to your left side. Keep your right leg completely straight.
As your left foot hits the floor, bend your left knee and sit your hips backward. Imagine you are trying to sit on a chair placed behind your left heel. Focus entirely on keeping your left knee aligned over your left foot.
Push off your left foot to return to the starting position. Perform ten repetitions on each side. This movement builds the necessary strength to support your joints during the downswing. It is a crucial step in injury prevention for mature players.
The final step is to connect your new mobility to your actual golf swing. Stand in your normal golf posture without a club. Place your hands on your hips to feel their movement.
Slowly shift your weight into your lead heel. Turn your pelvis toward your lead leg while keeping your lead knee stable. Focus entirely on pulling your lead hip straight backward.
You should feel your glute activate as you turn into your hip socket. Do not let your knee slide forward or collapse inward. Perform ten slow repetitions of this feeling before every practice session. This step helps transfer your gym improvements directly onto the course.
Using these focused movements in your regular recovery routine will prevent the buildup of joint tension. Over time, your body will learn to access this range of motion automatically during your swing.
Many golfers try to fix their tight hips using outdated methods. These mistakes can increase joint wear and cause unnecessary pain. Understanding what to avoid is just as important as knowing what to do.
The most common mistake is performing aggressive static stretching when you have joint impingement. If your hip socket has a bony restriction, stretching will not help. Forcing your leg into a deep stretch will only pinch the labrum.
If you feel a sharp pinch in the front of your hip during a stretch, stop immediately. This pinch is a signal that bone is contacting bone. You must focus on creating joint space rather than forcing muscle length.
Another common error is trying to aggressively fire your hips during the downswing. Golfers often try to spin their pelvis as fast as possible. If your lead hip cannot stabilize, your pelvis will simply spin out of control.
This spinning movement forces your upper body to stall. Your arms must then catch up, which often causes a chicken wing position. True speed comes from pushing into the ground and rotating around a stable lead hip.
Some golfers actually have too much hip movement. This condition is called joint laxity. These players do not need more stretching.
If you have laxity, stretching will make your joints unstable. This instability can lead to labral tears. These individuals must focus entirely on building strength and stability around the joint.
Your equipment plays a significant role in how your joints function. Your feet are your only contact point with the ground. Any restriction at your feet will travel up your legs to your hips.
The type of golf shoes you wear can impact your hip rotation. Highly aggressive metal or plastic spikes lock your feet securely into the turf. While this provides excellent traction, it also prevents any natural foot movement.
If your feet cannot move, your knees and hips must absorb all the twisting force. Spikeless shoes allow for a small amount of foot pivot. This minor slippage can reduce the rotational strain placed on your lead hip.
Many traditional golf shoes have a narrow, tapered toe box. This design squishes your toes together. Your big toe must be able to splay to stabilize your foot.
If your big toe cannot grip the ground, your arch will collapse. This collapse rotates your lower leg inward, which places your hip in a poor position. Look for golf shoes with a wide toe box that allows your toes to spread naturally.
Most golf shoes have a raised heel, which alters your posture. A raised heel shifts your center of gravity forward. This shift tilts your pelvis forward and reduces your available hip rotation.
Shoes with a low or zero-drop design keep your feet flat. This flat position allows your pelvis to remain in a neutral state. A neutral pelvis is essential for achieving full hip rotation.
You can still perform mobility exercises after a hip replacement, but you must be careful. Always follow your surgeon's specific guidelines regarding joint movement. Focus on gentle active loading rather than deep passive stretches. Avoid crossing your legs or forcing extreme internal rotation, as these movements can cause instability in some implants.
A pinching sensation in the front of your hip is a clear sign of bone-on-bone contact. This contact is often caused by Femoroacetabular Impingement (FAI). Do not try to stretch through this pain. Instead, adjust your leg position or reduce the depth of your movement until the pinch disappears.
Joint tissue takes time to adapt to new movements. You will often feel an immediate release in muscle tightness after a single session. Lasting changes in joint capsule mobility and bone alignment require twelve to sixteen weeks of consistent training. Consistency is much more important than intensity when working on joint health.
Yes, some golfers suffer from hypermobility, which means their joints are naturally loose. If you have too much movement, your muscles must work twice as hard to stabilize your body. For these individuals, stretching can actually increase the risk of injury. If you can easily bend past normal limits, you should focus your training on strength and stability exercises rather than stretching.
To protect your lower back and maintain swing speed as you age, you must build active control of your lead hip rotation rather than forcing passive flexibility.
Follow Golfergy for practical insights on performance, mobility, recovery and healthy ageing. Stay connected for new articles, research-led guidance and ideas to help you play better for longer.


Explore practical resources on performance, recovery, mobility and golf longevity.
Read the Blog