
Discover 10 essential physical self-tests to assess your golf longevity, identify movement restrictions, and prevent injuries for a pain-free game.




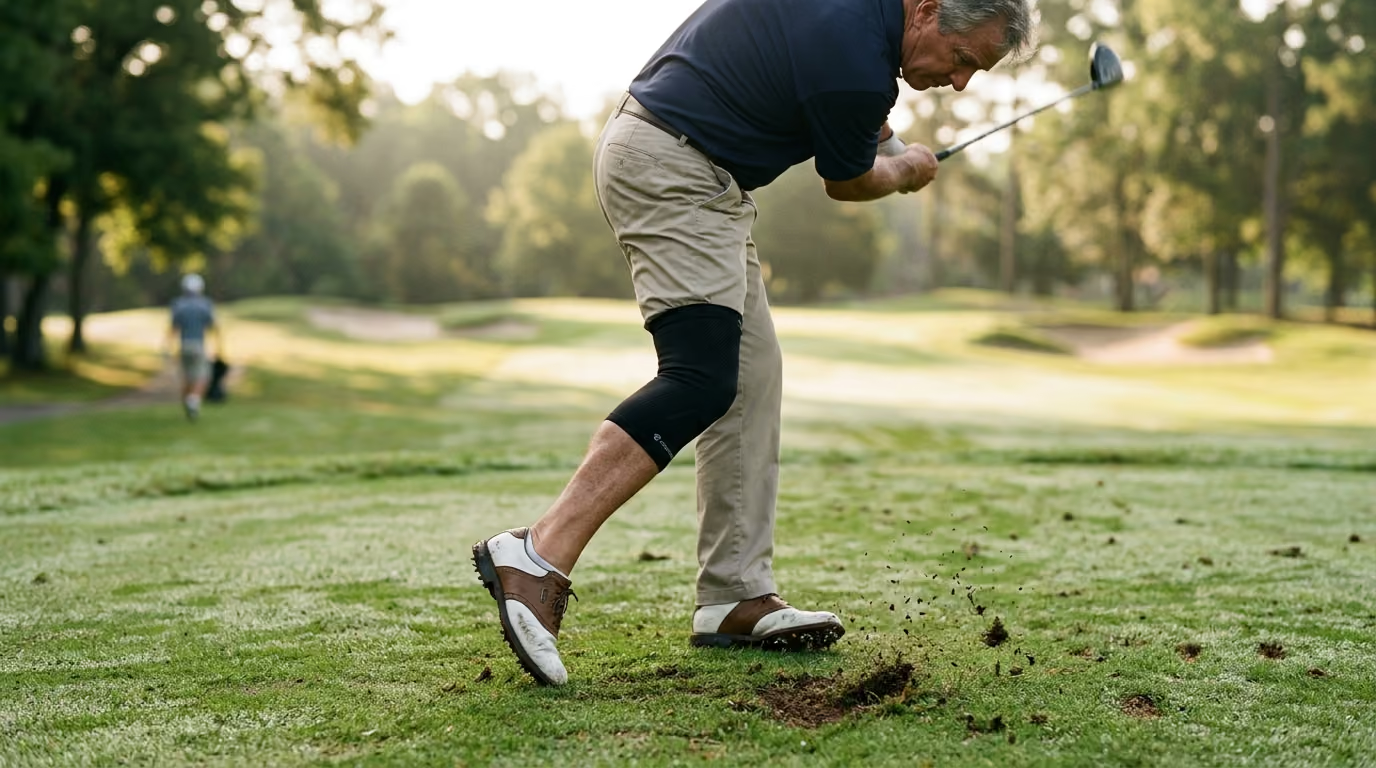
You stand on the fourteenth tee. Your driver suddenly feels heavier. Your lower back has started to ache, and your ball flight is drifting weak and right. You try to turn your shoulders further, but your body resists.
The saddest thing I have seen in golf is watching lifelong playing partners slowly drop out of our weekend group. It usually starts with a nagging shoulder or knee issue they ignore until it requires surgery. That pattern is exactly why I became obsessed with golf longevity. We do not have to stop playing as we age, provided we do the right maintenance work between rounds.
This late-round fade is not a mystery. It is the predictable outcome of physical limits that build up over years. When you have restricted movement, your swing changes to find the path of least resistance.
An annual check of your physical movement can identify these blocks before they turn into chronic pain. By testing your joints, you can protect your swing and play pain-free. This approach is key to injury prevention and helps you enjoy the game for decades.
Your swing is built on your physical capabilities. The Titleist Performance Institute (TPI) call this the Body-Swing Connection. It is a simple concept. Your physical limits dictate your swing mechanics.
If your body cannot move a certain way, your swing will suffer. You cannot practice your way out of a physical restriction. Trying to force a position you cannot reach leads to swing faults and injury.
This concept relies on the mobility-stability continuum. Your body is a stack of joints. Each joint has a specific role, alternating between needing mobility and stability.
The ankle needs mobility. The knee needs stability. The hip needs mobility. The lower back, or lumbar spine, needs stability.
The mid-back, or thoracic spine, needs mobility. The shoulder blades need stability. The shoulder joint needs mobility.
When a mobile joint like the hip becomes stiff, the stable joint next to it must move instead. Your lower back is forced to twist to make up for stiff hips. Your lower back is not designed to twist.
This extra movement causes wear and tear. Over time, it leads to pain and overuse injuries. Research shows that 82.6 percent of golf injuries are overuse-related.
We also must separate passive flexibility from active mobility training. Flexibility is just the length of a muscle. Mobility is your ability to actively control your joints through a range of motion.
Stretching a muscle is useless if a joint is physically blocked by tight joint capsules. You must assess how well your joints move under active control. This is the goal of our longevity audit.
These first tests look at how well you control your pelvis and lower back. They help identify restrictions that cause lower back pain, which is the most common golf injury.
This test measures your ability to tilt your pelvis forward and backward. This control is critical for maintaining a stable lower back throughout your swing.
To perform this test, stand in your normal five-iron posture. Cross your arms over your chest so your upper body cannot help. Slowly tilt your pelvis forward, arching your lower back. Next, slowly tilt your pelvis backward, flattening your lower back.
Focus entirely on tilting your pelvis. Your chest and shoulders must stay perfectly still.
A passing score requires smooth, controlled movement in both directions. You should not experience any shaking. Your upper body must remain motionless.
If you fail, you likely struggle with S-Posture in your swing. This is an excessive arching of the lower back at setup. It places high pressure on your lumbar spine. Studies show that lumbar spine pain affects up to 41.9 percent of recreational golfers.
To correct this, practice pelvic tilts on all fours. Get on your hands and knees. Slowly arch your back toward the ceiling, then let your stomach sink toward the floor. Focus entirely on moving your pelvis. Repeat this ten times daily to build pelvic control.
This test looks at lower body dissociation. It measures your ability to rotate your hips while keeping your upper body still.
Stand in your five-iron posture. Cross your arms over your shoulders. Try to rotate your hips left and right.
Keep your head and shoulders totally still. Focus entirely on turning your pelvis. Do not let your knees collapse inward.
To pass, you must rotate your hips smoothly without moving your chest. The movement should feel easy and free of tension.
Failing this test leads to lateral swaying or sliding during your swing. Instead of rotating your hips, your lower body shifts side to side. This shift drains your power and causes inconsistent ball contact.
To improve, stand with your hands resting on the back of a chair. This support keeps your upper body still. Practice rotating your hips left and right. Perform fifteen slow repetitions on each side to teach your body to isolate hip movement.
This test measures thoracic spine mobility, which is crucial for a full shoulder turn.
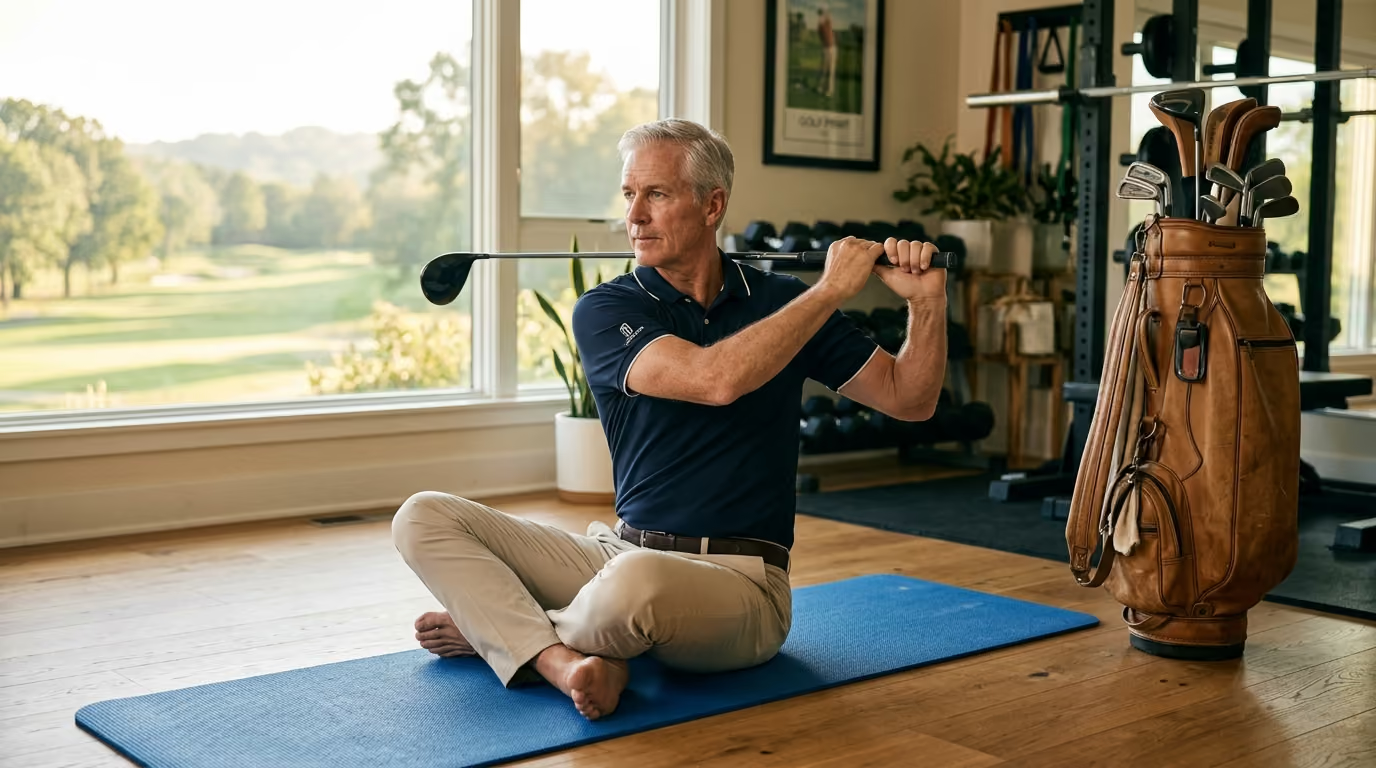
Sit tall on a chair with your knees and feet together. Squeeze a tennis ball or small pillow between your knees. Hold a golf club across your collarbones, securing it with crossed arms.
Keep your knees squeezed tight to lock your lower body. Rotate your chest as far left and right as possible.
You must achieve forty-five degrees of rotation in both directions. Your knees must not shift or separate during the turn.
If you fail, your body will compensate with a flat shoulder plane or an over-the-top downswing. You cannot get the club behind you, so you throw your hands at the ball. This limits your clubhead speed and causes slices.
To improve your thoracic rotation, try the thread-the-needle stretch. Start on your hands and knees. Reach one arm under your chest, sliding it along the floor. Reach as far as you can, then return and reach that same arm up toward the ceiling. Perform eight reps on each side.
Your legs and hips form the foundation of your swing. These tests check your lower body mobility and your ability to maintain your posture.
This test is a screen for total body mobility. It checks your ankle mobility, hip mobility, and thoracic spine extension all at once.
Stand with your feet shoulder-width apart. Hold a golf club overhead with both hands. Your hands should be slightly wider than shoulder-width, and your elbows must be locked.
Keep the club directly over your head. Squat down as deep as you can. Keep your heels flat on the ground.
To pass, your thighs must go below parallel to the floor. Your heels must stay down. The golf club must remain directly over your feet, not drifting forward.
Failing this test is highly correlated with early extension. This swing fault occurs when your hips move toward the ball on the downswing. Early extension affects sixty-four percent of golfers and causes thin shots and blocks.
To build squat mobility, practice wall squats. Stand facing a wall, about six inches away. Hold your arms up. Squat down without letting your hands or face touch the wall. Slide your feet back as you improve.
This test measures hamstring and hip mobility. It shows if you can bend from your hips without straining your back.
Stand with your feet together and your knees straight. Bend forward at your waist. Reach down to touch your toes.
Do not bend your knees. Do not bounce.
You must touch your toes with your fingertips. Your knees must remain straight. Your weight should stay balanced across your feet.
Failing this test points to tight hamstrings and hips. This tightness makes it hard to maintain your golf posture. Your pelvis tucks under, causing early extension and lead hip pain.
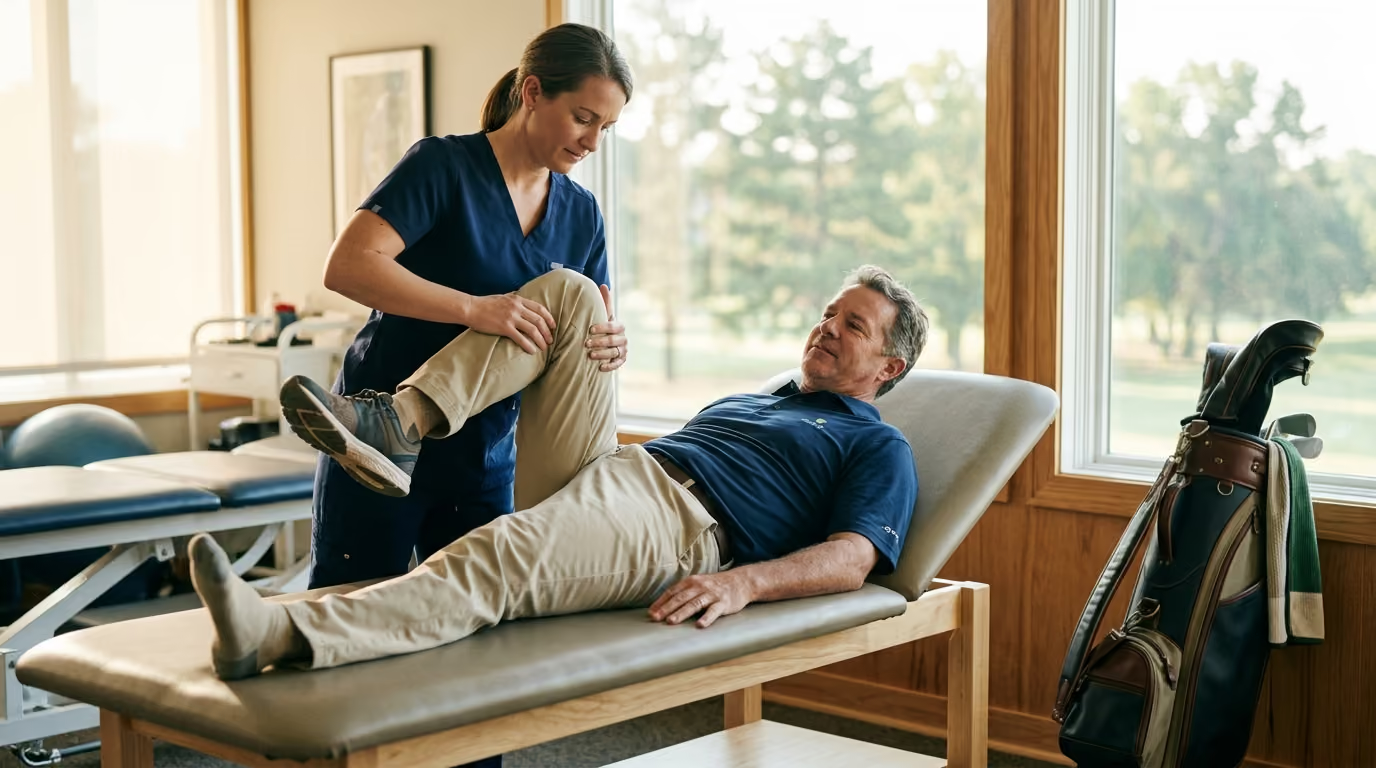
To improve, perform active straight leg raises. Lie on your back in a doorway. Place one leg up against the door frame. Keep your other leg flat on the floor. Hold this position for thirty seconds on each side.
Golf requires both stability and deep rotation. These tests look at your single-leg balance and hip rotation.
This test evaluates your ankle stability and proprioception, which is your brain's awareness of your body in space.
Stand on one leg on a flat floor. Lift your other foot off the ground. Once you are stable, close your eyes.
Start a timer. Maintain your balance.
You must balance on one leg with your eyes closed for twenty-five seconds. You must do this on both legs. Your standing foot should not shift excessively.
Failing this test indicates poor stability. During your swing, you will struggle to shift your weight. This leads to swaying and erratic contact.
To improve, practice barefoot balancing. Stand on one leg while brushing your teeth. As this gets easier, close your eyes. This simple habit builds ankle strength and body awareness.
This test measures hip internal rotation. Your hips must rotate internally to load your trail side on the backswing and clear your lead side on the downswing.
Stand on your trail leg with your knee slightly bent. Lift your lead foot off the floor. Rotate your hips and pelvis as far as possible over your standing leg.
Repeat this on your lead leg.
You must reach forty-five degrees of rotation on both hips. Your standing knee must not collapse inward. Your foot must stay flat.
If your trail hip lacks internal rotation, you will sway during your backswing. If your lead hip lacks rotation, you will slide during your downswing. This causes a lead hip block and reduces clubhead speed.
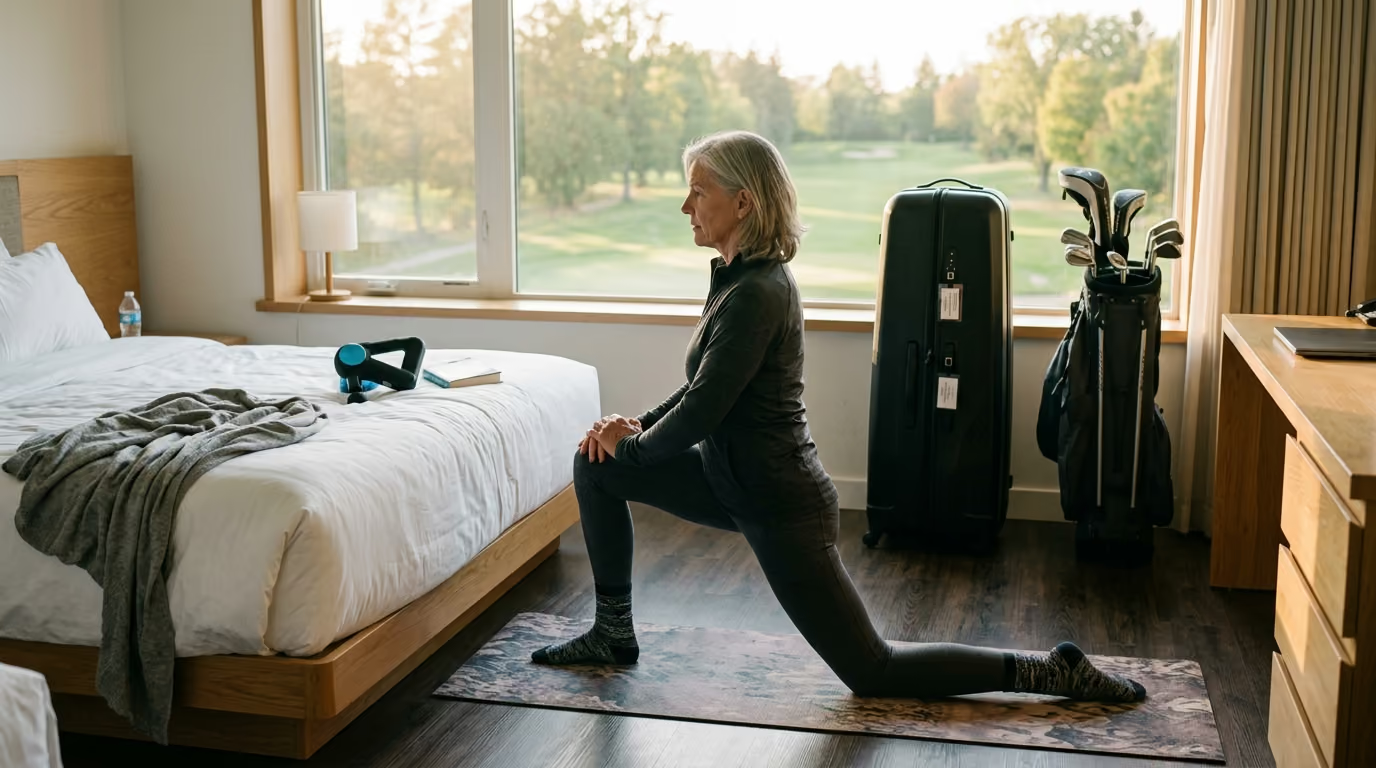
To improve, use the half-kneeling hip rotation. Kneel on one knee. Place your other foot forward.
Gently rotate your pelvis over your front thigh. Hold for five seconds. Perform ten repetitions on each side.
Your shoulders and upper back control the path and speed of the club. These tests target shoulder rotation and lat length.
This test measures shoulder external rotation. This movement is necessary for setting the club at the top of your backswing.
Stand in your golf posture. Raise your trail arm to shoulder height. Bend your elbow to ninety degrees, with your forearm parallel to the ground.
Without moving your torso, rotate your forearm backward as far as possible. Repeat this on your lead arm.
Your forearm must rotate back past your spine angle. This is roughly ninety degrees of rotation. Your elbow must stay at shoulder height.
Failing this test leads to a flying elbow on your backswing. Your trail elbow flares out, which steepens your downswing. This causes pulls and slices.
To improve, use a doorway stretch. Place your forearm against a door frame at a ninety-degree angle. Gently step forward until you feel a stretch in your chest and shoulder. Hold for thirty seconds on each side.
This test measures the length of your latissimus dorsi muscles. Tight lats restrict your shoulder movement and shorten your backswing.
Stand with your heels, hips, and upper back flat against a wall. Press your lower back completely flat against the wall.
Keep your elbows straight. Raise both arms overhead to touch the wall behind you.
Your thumbs must touch the wall. Your lower back must stay flat against the wall. Your elbows must not bend.
If you fail, you cannot get your arms up without arching your back. In your swing, this causes a loss of posture at the top of your backswing. Your body lifts up to make room for your hands.
To stretch your lats, try the child's pose with a reach. Kneel on the floor and sit back on your heels. Reach your arms forward on the floor.
Walk your hands to the left to stretch your right lat. Hold for thirty seconds, then switch sides.
This test measures your glute strength and pelvic stability. Your glutes are the powerhouse of your golf swing.
Lie on your back with your knees bent and feet flat on the floor. Lift your hips into a bridge position.
Keep your knees in line. Extend one leg straight out.
You must hold your hips level for ten seconds. Your pelvis must not sag or tilt toward the floor. You should not feel cramping in your hamstrings.
Failing this test points to weak glutes. When your glutes are weak, your hamstrings and lower back work too hard. This causes lower back pain and early extension.
To build glute strength, perform glute bridges. Lie on your back with your knees bent. Squeeze your buttocks and lift your hips.
Hold for three seconds, then lower. Perform three sets of twelve repetitions to support your strength building goals.
Many golfers cheat during these tests without realizing it. They use other muscles to mask a movement restriction. This is a common issue when players start assessing their own movement.
The most common cheat happens during the Lat Test. Golfers will arch their lower back to get their thumbs to the wall. This makes it look like their shoulders are mobile, but they are actually twisting their spine. You must keep your lower back flat against the wall.
Another cheat occurs during the Seated Torso Rotation Test. Golfers will slide their knees apart to rotate further. Squeezing a ball between your knees prevents this chest turn cheat.
Many players confuse flexibility with mobility. They try to stretch their muscles when their joints are actually blocked. If a joint capsule is stiff, stretching the muscle will not help. You must focus on joint mobility first.
Golfers also fall into the trap of increasing their practice volume when they are playing poorly. They hit hundreds of balls at the range, trying to fix a physical issue with repetition. This extra volume causes overuse injuries. You should match your practice time with recovery work to stay healthy.
To get accurate results from your audit, remember these three rules:
Checking your video will help you spot these cheats. It gives you an honest view of your current movement.
If you fail some of these tests, you can adjust your equipment to protect your body. These changes can reduce joint stress while you work on your mobility.
If you fail the Pelvic Tilt or Pelvic Rotation tests, look at your shoes. High-traction spiked shoes lock your feet into the ground. This places high torque on your knees and lower back.
Switching to spikeless shoes can help. Spikeless shoes allow your feet to slip slightly. This small slip releases stress from your joints.
If you fail the Lat Test or the 90/90 Shoulder Test, check your grip thickness. Small grips require you to squeeze harder. This tension travels up your arms into your shoulders.
Thicker grips can reduce this tension. They allow your hands and arms to stay relaxed. This relaxation helps you swing more freely.
You can also adjust your setup. If your trail hip lacks internal rotation, flare your trail foot out at setup. Turn your toe outward by ten to fifteen degrees. This simple adjustment opens your hip joint. It allows you to make a full backswing without straining your lower back.
These changes are not permanent fixes. They are helpful strategies to use while you work on your long-term mobility. They keep you playing while you improve.
To get the most from this audit, make it a regular habit. Perform these ten tests once a year, ideally before your season begins. This timing allows you to identify restrictions before you start playing regularly.
You can find more advice on maintaining your body in our golf performance resources. If you want to read more about keeping your body healthy as you age, visit our healthy ageing section. We share regular tips on longevity in our golf performance and recovery articles.
When you practice, focus on one small movement at a time. For example, during your backswing, focus entirely on turning your trail hip. This focused attention helps build better movement habits.
Our goal is to help you play this game for as long as possible. By assessing your body annually, you can catch physical limits early. This proactive approach keeps you out of pain and on the golf course.
Revisit this guide whenever you feel a new ache or notice your ball flight changing. It will help you pinpoint the physical cause behind your swing issues.
Follow Golfergy for practical insights on performance, mobility, recovery and healthy ageing. Stay connected for new articles, research-led guidance and ideas to help you play better for longer.


Explore practical resources on performance, recovery, mobility and golf longevity.
Read the Blog