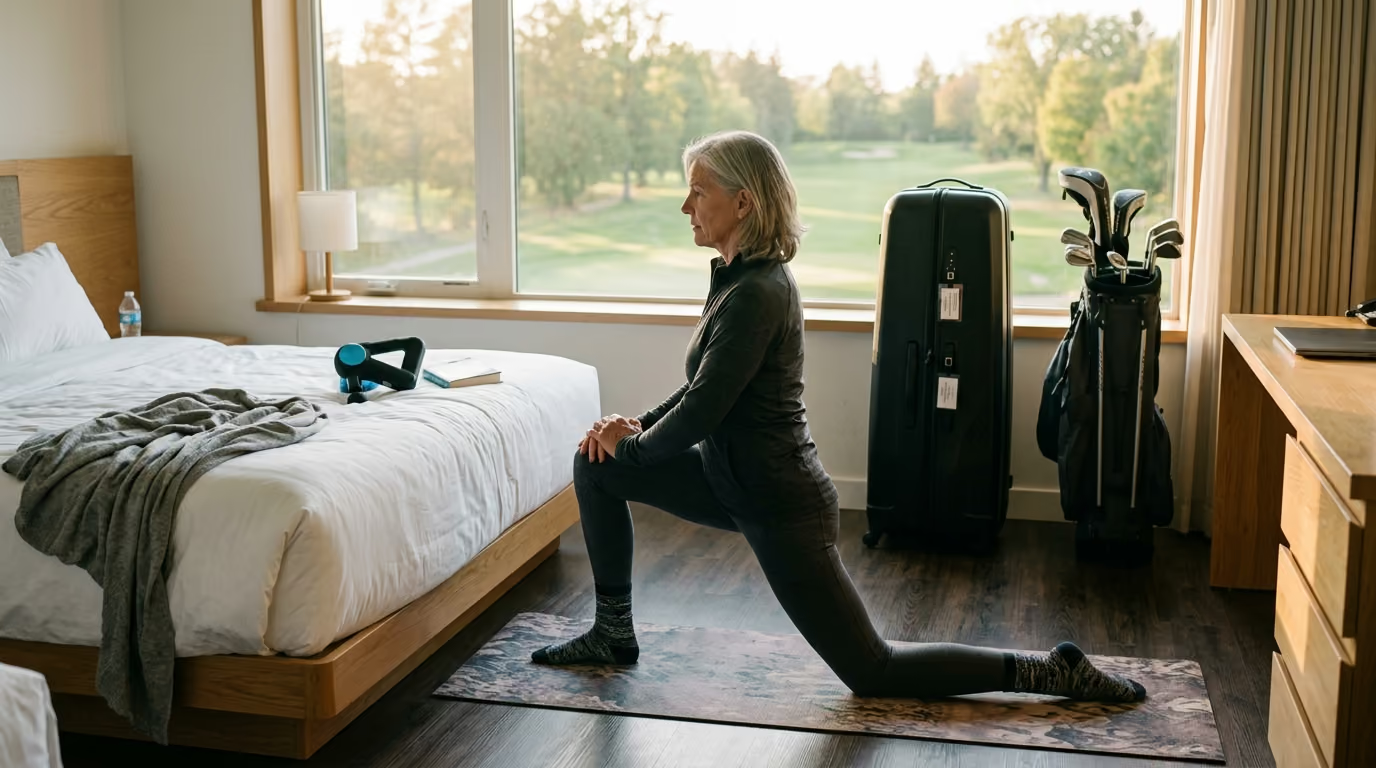
Learn how to strengthen your shoulders and optimize your golf swing mechanics to prevent common injuries like rotator cuff tears and impingement.




Have you ever finished a weekend round and felt a deep, nagging ache in your shoulder? Perhaps you have searched online for ways to stop that sharp pinch at the top of your backswing. Many golfers over forty experience this exact discomfort. It is one of the most common issues that can take you away from the game you love.
We want to keep you on the course for years to come. In this guide, we will analyze the mechanics of the shoulder joint. We will show you how to maintain the space inside the joint. This will help you prevent painful tears and pinching.
The saddest thing I have seen in golf is watching lifelong playing partners slowly drop out of our weekend group. It usually starts with a nagging shoulder or knee issue they ignore until it requires surgery. That pattern is exactly why I became obsessed with golf longevity. We do not have to stop playing as we age, provided we do the right maintenance work between rounds.
By learning how your shoulders move, you can protect your joints. This resource offers practical steps to keep your swing fluid and pain-free. It provides a clear path to improve your healthy ageing process through smart training.
You are standing on the tee of a long par five on the back nine. You need a big drive to reach the fairway bunker. As you reach the top of your backswing, you feel a sharp, biting pinch in your lead shoulder. Your arm instantly loses power, and you slice the ball into the trees.
During the downswing, you feel the joint click. When you finish the swing, a dull ache spreads across your upper back and collarbone. You spend the next four holes trying to swing around the pain. You shorten your turn, swing with your arms, and lose twenty yards of carry.
By the eighteenth green, you can barely lift your arm to put your headcover back on. This scenario is incredibly common for mature golfers. The repetitive nature of the swing puts unique stress on the shoulder girdle. Without proper preparation, this stress leads to chronic inflammation.
To protect your shoulders, you must understand how they are built. The shoulder is a ball-and-socket joint. The ball is at the top of your upper arm bone, which is called the humerus. The socket is a shallow groove on your shoulder blade, which is called the glenoid cavity.
Because the socket is shallow, the joint is highly mobile. This mobility allows you to swing a golf club at high speeds. However, it also makes the joint unstable. To keep the ball in the socket, your body relies on a group of four small muscles.
These muscles make up the rotator cuff complex. They are the supraspinatus, the infraspinatus, the subscapularis, and the teres minor. Each muscle has a specific job during your golf swing.
The supraspinatus sits at the top of the shoulder blade. It helps lift your arm away from your body. It is highly active at the start of your backswing and during the finish. It works hard to keep the ball from sliding upward.
The infraspinatus and teres minor sit on the back of the shoulder blade. They rotate your arm outward. During the high-velocity finish, these muscles act as brakes. They slow your arm down after you hit the ball.
The subscapularis is the largest and strongest of the four muscles. It sits on the front of the shoulder blade. It rotates your arm inward. Research shows this muscle is the primary power source during the downswing.
Above these muscles sits a bony shelf called the acromion. The space between this shelf and the ball of your arm is the subacromial space. Inside this narrow gap lie the rotator cuff tendons and a small fluid-filled bursa.
When you lift or rotate your arm, this space naturally gets smaller. If your shoulder muscles are weak or tight, the space shrinks too much. The bone can pinch the tendons and bursa. This pinching is known as shoulder impingement. Over time, constant pinching leads to wear, inflammation, and eventual rotator cuff tears.
A great golf swing relies on a proper sequence of movements. Power starts from the ground. It moves to your feet, up through your legs, and into your pelvis. From there, it transfers to your torso, your arms, and finally the club.
This transfer of energy is called the kinematic sequence. When this sequence works well, your shoulder joint acts as a stable link. It simply passes the power from your body to the club. It does not have to generate the speed on its own.
However, if your hips or upper back are tight, this sequence breaks down. Your body cannot rotate properly. To create club speed, you must force your arms and shoulders to pull and push.
This compensation turns your shoulder from a stable link into a primary engine. The small rotator cuff muscles are not designed to generate this kind of force. They quickly become overloaded. This overload leads to micro-tears in the tendons and severe muscle strain.
To prevent this, you must focus on injury prevention strategies. These strategies keep your joints moving in the correct order. They protect your shoulders from carrying loads they were never meant to handle.
During the backswing, your lead shoulder and trail shoulder face completely different demands. Your lead shoulder is the left shoulder for a right-handed golfer. As you turn, this arm moves across your chest.
This movement is called cross-body adduction. It pulls your shoulder blade forward and wraps your arm tight against your sternum. This position naturally reduces the space under the acromion bony shelf.
If your upper back is rounded, this space is even smaller. A slouched posture tilts your shoulder blades forward. This tilt lowers the acromion shelf, which increases the risk of pinching.
When you reach the top of the backswing, the lead shoulder is under immense compression. If you have limited mobility, you will feel a sharp pinch. This pinch is the supraspinatus tendon being squeezed against the bone.
Meanwhile, your trail shoulder must rotate outward. This is the external rotation phase. Your elbow must stay down while your hand moves back.
If your trail shoulder is tight, you cannot get the club into a good position. Your body will try to find another way to complete the swing. It will force your elbow to flare out, which strains the front of the joint.
This mechanical stress is why shoulder mobility is so critical. Without it, every backswing you take damages the joint tissue.
The downswing is a high-speed movement. It requires your shoulders to transition from static holding to rapid rotation. This transition puts a different kind of stress on the joint.
As you start the downswing, your subscapularis muscle fires hard. It works to pull your lead arm back down toward your body. This muscle must generate high levels of force in a fraction of a second.
If your core and hips do not lead this movement, your subscapularis must do all the work. This can lead to strains in the front of your shoulder. It can also cause the head of the arm bone to shift forward.
The finish phase of the swing is even more demanding. After you hit the ball, your club is moving at its highest speed. Your body must slow this speed down in a very short distance.
This is the high-velocity finish. The muscles on the back of your shoulder must contract to slow the club. This is an eccentric contraction, where the muscles lengthen under tension.
The infraspinatus and teres minor must work incredibly hard here. If they are weak, they cannot control the arm. The momentum of the club will pull your arm bone forward and upward.
This movement slams the humeral head into the acromion shelf. It causes acute impingement at the very end of your swing. Over time, this repetitive impact causes chronic tears in the rotator cuff.
Certain swing flaws are guaranteed to cause shoulder pain. Two of the most common are the "chicken wing" and "casting." Both of these errors are highly damaging to the rotator cuff.
The chicken wing occurs during the follow-through. Instead of keeping your lead arm straight and rotating your forearm, your lead elbow bends. It points outward and upward toward the target.
This flaw is usually a reaction to tight hips or a stiff upper back. Because your body stops rotating, your arm must bend to keep the club moving. This bend forces the shoulder joint to compress.
It pulls the head of the arm bone up into the acromion. This movement pinches the tendons and bursa. It blocks the natural path of the swing and causes chronic lead shoulder pain.
Casting is the early release of the wrists during the downswing. Golfers often cast because they want to hit the ball harder. They throw the club away from their body at the top of the swing.
This movement destroys your clubhead speed. It also creates a massive pulling force on your lead shoulder. The sudden weight of the club pulls your arm bone out of its safe socket position.
The small rotator cuff muscles must contract violently to keep the arm in place. This sudden pull can cause acute tears in the supraspinatus. It makes building strength in these stabilizing muscles absolutely vital.
Another common error is pulling your lead arm too tight against your chest. Many golfers think this creates a better shoulder turn.
In reality, it just crushes the joint space. It places the tendons under extreme tension before you even start your downswing. A proper turn comes from rotating your torso, not from yanking your arm.
Before you start any exercise routine, you need to know your physical limits. The Titleist Performance Institute uses a simple test to check shoulder mobility. This is called the 90/90 Test.
You can perform this test easily at home using a mirror. It will show you if your shoulders have the movement needed for a safe swing.
Stand tall in front of a mirror with your feet shoulder-width apart. Raise your arm out to the side until it is level with your shoulder. Bend your elbow to a ninety-degree angle, with your hand pointing forward.
Your arm should look like a goalpost. Keep your chest facing the mirror. Make sure you do not arch your lower back during this setup.
Without moving your upper arm, rotate your forearm and hand upward and backward. Try to get your hand to point toward the ceiling. Keep your elbow in line with your shoulder.
Observe the angle of your forearm in the mirror. Compare this angle to your normal spine angle when you are in your golf posture.
If your forearm can rotate backward past your spine angle, you pass the test. This means you have enough mobility to get the club into a safe position.
If your forearm cannot reach this angle, you fail the test. This indicates tightness in your shoulder joint or chest muscles.
If you fail, your body will compensate during your swing. You will likely lift your arms too high or bend your elbows. This compensation puts your rotator cuff at a high risk for impingement.
Perform this test on both your lead and trail shoulders. Many golfers find they have a passing grade on one side but fail on the other. This asymmetry can lead to unbalanced swing mechanics and injury.
If you feel a pinch in your shoulder during a round, do not try to push through it. You can make immediate adjustments to protect the joint. These changes will allow you to finish your round safely.
First, shorten your backswing. Do not try to make a massive, full-looking turn. Instead, limit your swing to about three-quarters of its normal length.
This change prevents your lead arm from crossing your chest too tightly. It keeps the subacromial space open. You will still hit the ball solid, and you will protect your tendons from being pinched.
Second, shift your focus to your lower body. Instead of pulling your arm back, focus entirely on turning your trail hip. Let your hips lead the rotation of your torso.
This movement turns your chest naturally. It carries your arms into a good position without forcing your shoulder muscles to do all the work. It reduces the strain on your lead shoulder during the backswing.
Third, smooth out your transition. Many golfers rush the downswing, jerking the club from the top. This sudden change of direction puts immense force on the rotator cuff.
Instead, try to feel a brief pause at the top of your swing. Let gravity start the downward movement of the club. A smooth transition allows your muscles to coordinate and stabilize the joint safely.
These simple adjustments can save your shoulder during a tough round. They allow you to finish your game without causing further damage. After the round, you can focus on proper post-round recovery and long-term exercises.
To address the root cause of shoulder pain, you need a structured exercise routine. We recommend a progressive loading protocol. This routine builds a strong foundation before adding heavy loads.
The first phase focuses on scapular stability. Your shoulder blade is the foundation for your shoulder joint. If it does not move correctly, your rotator cuff cannot do its job.
This exercise targets the serratus anterior muscle. This muscle pulls your shoulder blade forward around your rib cage. It helps the scapula clear the path for the rotator cuff.
This exercise improves the control of your shoulder blades. It helps keep them flush against your rib cage, which prevents winging.
The second phase focuses on direct rotator cuff strength. These exercises isolate the small muscles that hold the joint together.
This exercise isolates the infraspinatus and teres minor. These are the muscles that slow the club down during your finish.
This exercise challenges your dynamic stability. It forces the small cuff muscles to coordinate to balance the weight.
The third phase prepares your shoulders for the high-velocity finish of the swing. These exercises use functional patterns to build power and control.
This series activates the lower trapezius and the back of the rotator cuff. These are the exact muscles that decelerate your arm.
This exercise mimics the rotational demands of the actual golf swing. It trains the muscles to work together in a diagonal line.
When trying to fix shoulder pain, many golfers make critical mistakes. These errors can slow your recovery. In some cases, they can make the injury worse.
The first mistake is stretching a joint that is already loose. Some golfers have naturally high joint laxity. This means their joints are naturally loose and flexible.
If your shoulder is loose, stretching it will increase instability. This instability makes it harder for the rotator cuff to hold the ball in the socket. Instead of stretching, these golfers need to focus entirely on building strength and stability.
The second mistake is using too much weight during exercises. The rotator cuff muscles are very small. They are designed for endurance and stability, not for heavy lifting.
If you use heavy weights, your body will recruit larger muscles. Your chest, lats, and upper back will take over the movement. This leaves the rotator cuff untrained and unprotected. Use light weights and focus on perfect form.
The third mistake is ignoring the role of the shoulder blade. The rotator cuff muscles are attached directly to your scapula. If your shoulder blade does not move properly, your cuff cannot function.
Many golfers try to strengthen the cuff without addressing scapular stability. This is like trying to build a stable house on a moving foundation. Always combine rotator cuff work with scapular exercises like wall slides.
Avoiding these mistakes will help you get the most out of your routine. It keeps your training safe and effective. It allows you to build real, lasting health for your shoulders.
Your golf equipment plays a major role in how much stress reaches your joints. Making small adjustments to your gear can reduce the impact on your shoulders.
Let us first look at your grip size. If your grips are too small, your hands will naturally squeeze the club tighter. This tension does not stay in your fingers. It travels up your arms into your elbows and shoulders.
This extra muscle tension reduces the space in your shoulder joint. It makes impingement more likely. Switching to midsize or jumbo grips can help. These larger grips allow your hands to relax, which reduces tension in your shoulders.
Next, consider the flex of your shafts. Stiff steel shafts absorb very little vibration. When you strike the ball, that shock travels straight up into your joints.
If you have shoulder pain, switching to graphite shafts can help. Graphite absorbs much more vibration than steel. Choosing a slightly softer flex can also reduce the force needed to swing the club.
Finally, look at your golf shoes. If your shoes do not provide a stable connection to the ground, your body will struggle to rotate. You will compensate by using your upper body to yank the club.
This compensation puts massive stress on your rotator cuff. A stable, spiked shoe allows your legs and hips to drive the swing. This takes the pressure off your upper body.
These equipment changes work alongside your physical routine. They provide an extra layer of protection for your joints. They help you enjoy the game with less pain and effort.
To get started on protecting your shoulders, follow this simple checklist this week:
To protect your shoulders for years of play, you must strengthen the posterior rotator cuff and keep your chest rotating to maintain the vital subacromial space.
Follow Golfergy for practical insights on performance, mobility, recovery and healthy ageing. Stay connected for new articles, research-led guidance and ideas to help you play better for longer.


Explore practical resources on performance, recovery, mobility and golf longevity.
Read the Blog