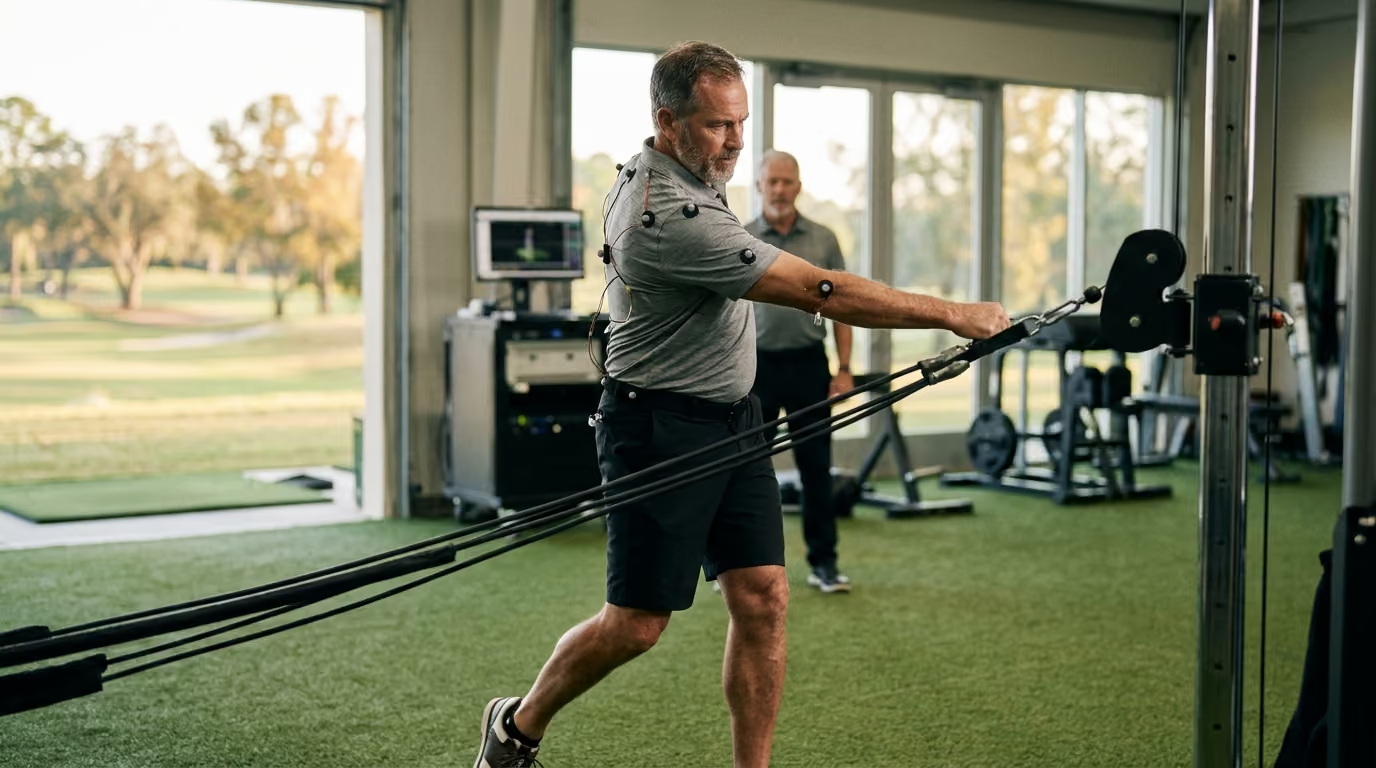

Learn how to train your body's deceleration mechanics to prevent common golf injuries and maintain a pain-free swing, especially for mature golfers.




You stand on the tee box of the challenging fifteenth hole. Your tee shot must clear a wide fairway bunker to find the short grass. You swing with extra effort to carry the hazard. At the finish of your swing, your body jolts to a sudden stop. A sharp pinch shoots across your lower back, and your shoulder feels pinched.
This common on-course moment highlights a major gap in how golfers train. Many players focus entirely on creating clubhead speed. They spend hours trying to make the downswing faster and more powerful. Yet they neglect the physical systems required to slow the club down.
The follow-through is not just a cosmetic finish to your swing. It is a critical phase where your body must safely dissipate the immense energy generated during your downswing. For players over fifty, this braking phase becomes a primary source of physical wear and tear. Without proper deceleration mechanics, your joints and muscles absorb the violent forces of the club. Learning how to train your body to slow down safely is the key to pain-free golf.
Consider the physical reality of a typical round of golf. You have played fourteen holes, and your muscles are starting to tire. As fatigue sets in, your natural joint mobility begins to decrease. On the fifteenth tee, you attempt to swing just as hard as you did on the first hole.
Your downswing successfully creates high velocity. But as the club passes the ball, your body realizes it cannot easily handle the rotation. To prevent itself from spinning out of control, your system applies a sudden brake. Because your hips are tight, your pelvic rotation stops early.
This abrupt halt forces your lower back to arch into a banana shape, often called a reverse C posture. Your trail shoulder flies forward, placing extreme tension on the rotator cuff. Instead of a smooth, balanced finish, you stumble forward off balance. This single swing can trigger a week of stiffness.
Research published in the Journal of Science and Medicine in Sport shows that the follow-through is responsible for more than twenty percent of all golf injuries. When your body cannot slow down gradually, it experiences high-velocity tissue loading. The energy does not disappear. It travels directly into your lumbar spine, your lead hip, and your shoulder joints.
For the mature golfer, this repeated trauma leads to chronic issues. It manifests as facet joint irritation in the spine, hip labral wear, or rotator cuff strains. To protect these vulnerable areas, we must look closely at how the body naturally manages motion.
To understand how to prevent these injuries, we must look at the science of deceleration. Think of your swing like a high-performance sports car. If you build a car with a massive engine, you must also install high-quality brakes. If you drive at top speed with worn-out brakes, any sudden stop will result in a crash.
In the human body, this braking action relies on eccentric muscle contractions. During the backswing and downswing, your muscles mostly perform concentric contractions. This means the muscle fibers shorten to create force and movement. During the follow-through, the opposite must occur. Your muscles must lengthen under tension to slow your body down.
Eccentric control is the true secret to protecting your joints as you age. When a muscle contracts eccentrically, it acts like a progressive shock absorber. It absorbs the kinetic energy and distributes it safely across the entire muscular system. If your muscles lack eccentric strength, the energy bypasses the muscles. It then travels straight into your tendons, ligaments, and joint capsules.
This biomechanical process follows a specific pathway called the kinetic dissipation hierarchy. In a healthy swing, your largest muscle groups initiate the deceleration process. Your hips, glutes, and torso should absorb the bulk of the force first. This is called proximal deceleration.
If your hips are immobile, this hierarchy breaks down. The larger muscles fail to slow the swing, forcing the smaller muscles of your arms, wrists, and shoulders to do the work. These small tissues are not designed to absorb such high eccentric loads. This breakdown is why so many players experience golfers elbow or rotator cuff tears.
To protect your spine, your body must transfer energy from your pelvis up through your torso. This movement requires a stable foundation known as the lead-side wall. The lead-side wall is not a rigid barrier. It is a active muscular bracing system.
The primary muscle responsible for this braking action is the lead gluteus medius. This muscle sits on the side of your hip. During the follow-through, it must contract to stabilize your pelvis. This stabilization allows your upper body to finish its rotation smoothly.
If your lead gluteus medius is weak, your pelvis will slide outward instead of rotating. This slide destroys your balance and places immense shearing force on your lower back. Your lumbar spine is designed for stability, not excessive rotation. When the pelvis fails to brake, the lower back is forced to twist too far.
At the same time, specific muscle pairs in your shoulders must work together. Research in Physical Medicine and Rehabilitation Clinics shows that the trail subscapularis and the lead infraspinatus are highly active during the finish. These muscles control the rapid rotation of your torso. They keep your shoulder joint centered in its socket as the club pulls your arms forward.
If these shoulder stabilizers are weak, the arm bone can pinch against the shoulder blade. This impingement causes the classic front-of-shoulder pain that plagues many older players. By training these specific muscle groups to work eccentrically, you create a built-in safety net for your swing. You can learn more about managing these physical demands by reading about golf injury prevention strategies to keep your body healthy.
While long-term training is essential, you can make immediate changes on the course to reduce joint stress. These simple adjustments help increase your braking distance during your round.
Before you take your stance, turn your lead toes outward toward the target. Aim for a flare of ten to twenty degrees. This simple change alters the angle of your hip joint. It pre-opens your pelvis, which reduces the amount of internal rotation required during the finish. Flaring your foot acts as an immediate safety valve for your lead hip and lower back.
Do not try to hold a rigid, picture-perfect pose if it feels tight. Allow your hands to finish high and relax behind your head. Let your trail heel lift fully off the ground so your chest faces the target. If you force your trail foot to stay pinned to the turf, you block your hips. This block forces your lower back to bend backward to complete the swing.
Many players take aggressive, full-speed practice swings before every shot. This doubles the amount of deceleration stress on your body during a round. Practice your feel with smooth, seventy-percent swings instead. Save your maximum physical effort for the actual shot. This simple habit preserves your muscle endurance for the final holes.
To build a permanent braking system, you must train your muscles to handle rotational forces. This training does not require heavy weights. Instead, it focuses on three distinct methods: isometric resistance, dynamic control, and eccentric deceleration.
Integrating these exercises into your weekly schedule will improve your stability. For more ideas on structuring your workouts, explore our resource on strength training routines designed for golfers.
This exercise teaches your core muscles to resist rotation. It builds the foundational strength needed to stabilize your spine during the finish.
This movement directly trains your muscles to control deceleration. It mimics the exact eccentric braking action used in the follow-through.
This exercise builds eccentric strength in the lead gluteus medius. It helps you build a strong lead-side wall to protect your hip joint.
This exercise trains the rotator cuff muscles to handle the sudden pulling forces of the club.
To ensure your joints can move through these positions smoothly, consider dedicating time to improving joint mobility alongside this strength routine.
Many mature golfers make critical errors when trying to protect their bodies. These mistakes often increase joint stress instead of reducing it.
This error occurs when a golfer tries to stop their swing abruptly right after impact. This sudden stop usually happens because of tight hips or fear of injury.
Instead of allowing the club to finish its natural arc, the player clamps down with their arms. This places massive stress on the rotator cuff and elbows. It forces the delicate shoulder joints to absorb the remaining speed of the club.
To fix this, focus on a long, lazy finish. Let the club wrap all the way around your neck. The longer the distance you use to slow the club down, the less force your joints must absorb.
Many players try to keep their head behind the ball for too long. They believe this helps them hit the ball higher or stay down on the shot.
This habit prevents the natural transfer of weight to the lead side. As a result, the golfer finishes their swing with their weight on their trail foot. This posture forces the lower back to arch severely, which compresses the lumbar facet joints.
To prevent this issue, ensure your chest finishes over your lead foot. Your trail knee should point directly toward your target at the end of the swing.
Some golfers try to solve their physical discomfort by slowing the club down before impact. They decelerate the club intentionally during the downswing to maintain control.
This disruption of the kinetic chain actually increases injury risk. It forces you to use an awkward, jerky movement to finish the swing. It also ruins your distance and ball striking.
You must swing through the ball with confidence. Rely on your trained muscles to slow the swing down after the ball is gone, not before.
Your equipment plays a major role in how your body manages deceleration. Small changes to your gear can reduce the physical demands on your joints.
High-traction shoes with long metal or plastic spikes can lock your feet into the turf. While this provides stability, it prevents your feet from rotating during the finish. If your foot cannot rotate, that twisting force travels up into your knee and hip.
Consider wearing spikeless shoes or shoes with flexible traction patterns. These designs allow your lead foot to slip slightly during the finish. This small release of tension protects your joints from high rotational stress.
If your shafts are too stiff or too heavy, your muscles must work harder to swing the club. This extra weight also makes the club much harder to slow down during the follow-through.
Switching to a lighter, more flexible graphite shaft can make a significant difference. Graphite absorbs more vibration than steel, which protects your hands and elbows. A lighter club requires less muscular effort to decelerate at the end of your swing.
Tight, worn-out grips cause you to squeeze the club too hard. This excess hand tension travels up your forearms and into your shoulders. Tight muscles cannot react quickly to slow the swing down safely.
Try using midsize or oversized grips with a soft, tacky texture. These grips allow you to hold the club securely with light hand pressure. This keeps your arms relaxed, allowing your larger torso muscles to manage the deceleration process.
Building a strong braking system requires smart session management. This is especially true for players focusing on healthy ageing for golfers.
When you perform eccentric training, your muscle fibers experience tiny micro-tears. This is a normal part of building strength, but it requires adequate recovery time. If you practice when your muscles are sore, your body will revert to safe, restricted movements.
Limit your full-speed swings during your practice sessions. If you hit fifty balls, make thirty of them smooth, partial-distance shots. Use the remaining twenty shots to practice your full-speed swings. This approach prevents cumulative tissue fatigue from breaking down your form.
Allow at least forty-eight hours between high-intensity training sessions. This window gives your muscles time to rebuild and adapt to the new forces. During your rest days, focus on light stretching and muscle recovery methods to maintain your flexibility.
To help you organize your training, here is a quick guide to the primary components of deceleration mechanics:
By shifting your focus to deceleration, you protect your body from the violent forces of the swing. You will no longer finish your rounds feeling sore and stiff. Instead, you will build a resilient, balanced swing that supports your physical longevity.
When to revisit this resource: Read this guide again at the start of your off-season training, or whenever you feel persistent tightness in your lower back or lead hip after a round of golf.
Before your next round, remember that a safe and powerful swing relies entirely on your physical ability to slow the club down smoothly after impact.
Follow Golfergy for practical insights on performance, mobility, recovery and healthy ageing. Stay connected for new articles, research-led guidance and ideas to help you play better for longer.


Explore practical resources on performance, recovery, mobility and golf longevity.
Read the Blog