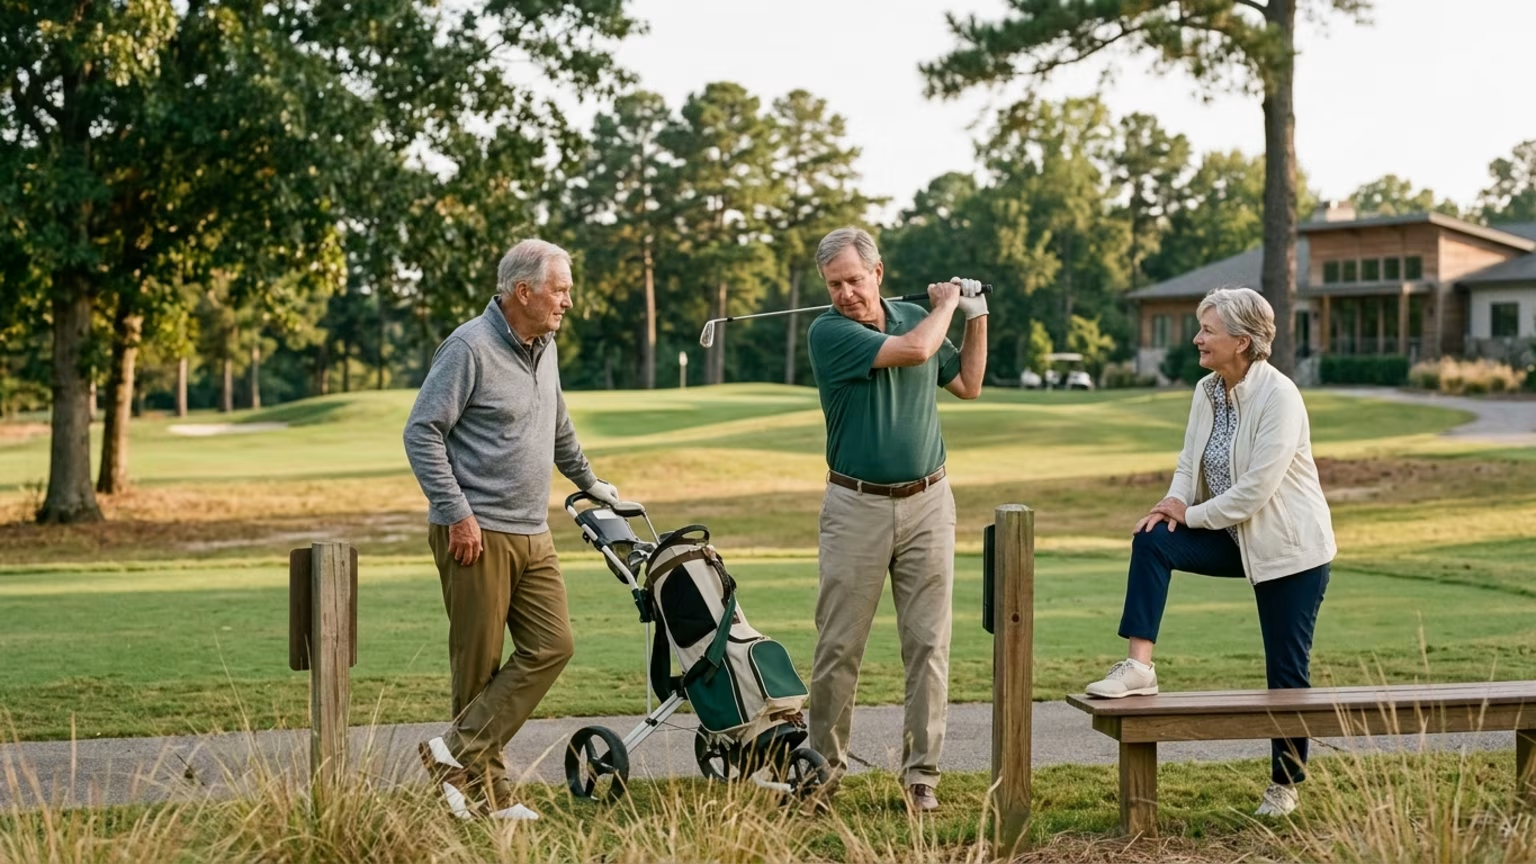

Learn a safe 10-minute mobility screen for older golfers. Use these simple home checks for thoracic rotation, ankle dorsiflexion, and single-leg balance.




A sensible home mobility screen helps older players identify movement restrictions before they influence the swing. The five-step assessment protocol provides a safe snapshot of your physical readiness:
Golf combines prolonged walking, uneven ground, and repeated weight transfer. These demands make lower-limb mobility and balance highly relevant for maintaining stable movement late in a round. A simple home screen establishes a conservative baseline for your current physical condition. This process helps you notice gradual movement changes over time.
The goal of this screen is observation rather than medical diagnosis. Golf-specific movement screens commonly examine the hips, thoracic spine, and shoulders. They also test balance, stability, and movement control. A Massachusetts General Brigham golf-performance program uses certified clinicians to evaluate these specific areas. A recreational golfer with persistent symptoms or a complex history might eventually seek an individualized professional screen.
For now, a home checklist helps you flag a marked asymmetry or a sudden loss of range. Golf-oriented guidance recommends a gradual approach for players over 60. A safe plan combines a warm-up, targeted exercises, and gentle stretching. Finding a comfortable baseline helps you manage mid-round fatigue and tightness without risking joint health.
Spend roughly one or two minutes walking or performing easy movements before testing. Have a wall, chair, or countertop nearby for support. Do not test through sharp or escalating pain. Golf-oriented guidance recommends a low-intensity warm-up before exercise to monitor adverse responses.
Sit upright with your feet flat and your arms crossed over your chest. Keep your knees near 90 degrees to isolate the upper body. Rotate right and left while keeping your pelvis and knees facing forward. Record whether each side feels smooth or if one side is clearly smaller.
One TPI-derived screening reference used by a golf-performance provider is approximately 45 degrees of thoracic rotation in each direction. Substantially less rotation or a clear right-to-left difference points to a possible restriction. Launchpoint Golf describes a seated thoracic-rotation check that compares both sides while the hips and knees stay facing forward.
More rotation does not automatically equal a longer drive. In 2024, Launchpoint Golf discussed a study finding only a trivial-to-small relationship between seated thoracic rotation and clubhead speed in elite golfers. A mobility screen provides a useful baseline, but it cannot promise increased distance.
Sit securely with your knee bent to approximately 90 degrees and keep your thigh steady. Move your lower leg inward and outward to compare internal and external rotation on both sides. Watch for compensations like the pelvis lifting or the low back twisting. If the range is markedly different between legs, record the observation and reduce your intensity.
Launchpoint Golf suggests that a golfer showing a meaningful difference between sides might need attention. This remains true even if neither side appears dramatically limited in isolation. A painless, mild restriction justifies gradual strength and control training.
Ankle dorsiflexion is evaluated using a simple knee-to-wall test. Face a wall, keep your heel down, and move your knee toward the wall. Gradually increase your distance from the wall to find your maximum range. Both ankles should be tested separately to identify any clear difference.
The same golf-performance source describes roughly 10 centimeters, or 4 inches, as a reference distance for this test. A clear difference between ankles suggests your lower-limb control deserves attention. An inability to maintain heel contact also indicates potential stiffness. Document these findings to track your progress over the season.
Stand beside a stable support structure to prevent falls. Lift one foot for a short, comfortable trial, and then repeat on the other side. Note any excessive trunk leaning or repeated foot taps. A golf rehabilitation progression specifies three 30-second single-leg balance trials without foot contact from the opposite leg.
Do not treat this rehabilitation benchmark as a mandatory pass or fail score for every older golfer. A single-leg balance result is affected by footwear, fatigue, and vision. The testing surface and fear of falling also play a role. The test simply provides an awareness of your stability under controlled conditions. Stop the test immediately if symptoms or severe instability appear.
Many enthusiastic players treat screening references as rigid medical cutoffs. Thresholds like 45 degrees for thoracic rotation or 10 centimeters for the knee-to-wall test are just practical comparison points. Forcing a stretch to hit these exact numbers often leads to diminished returns. Pushing past your natural limit can create new pain.
Another frequent mistake is bouncing or forcing joints into end-range positions. The screen must be performed slowly and deliberately. A test that provokes pain should be stopped rather than worked through. Seek professional assessment if you experience worsening pain or neurological symptoms. Numbness or persistent trouble also requires medical attention. Learning to tell normal soreness from serious injury is a vital skill for longevity.
Players also panic over minor side-to-side differences. Asymmetry is informative, but it is not automatically abnormal. Golfers often have sport-specific movement preferences or normal anatomical variation. A large, painful, or worsening difference is the real signal to consult a clinician.
Finally, golfers sometimes assume that better movement quality guarantees a pain-free season. A systematic review cautions that improvements in performance or biomechanics do not automatically prove a reduction in injury incidence. Direct injury-prevention evidence is limited. A mobility screen identifies physical limitations, but it cannot promise perfect joint health.
You can maintain the benefits of this awareness seamlessly while out on the fairway. Notice how your body feels when setting up on sloped ground or walking up steep hills. If you felt limited ankle mobility during your home screen, you might widen your stance on uneven lies. This small adjustment helps accommodate tight ankles.
A balanced swing requires stability, and a quick self-check keeps your expectations grounded. Taking a moment to assess your body helps maintain stable movement late in a round when fatigue sets in. Monitoring your physical limits prevents you from swinging out of your shoes on the back nine.
If your thoracic rotation felt restricted before the round, take a moment for a gentle, upright cart-side rotation check. Stand tall next to your golf cart during a slow group ahead of you. Keep your lower body completely still and smoothly turn your shoulders just to the point of light tension. This brief mid-round observation keeps you tuned into your physical limits without overexerting yourself.
Tracking your physical baseline provides valuable information about how your body responds to the demands of the game. A routine check helps you spot gradual declines in your rotational flexibility or lower-body stability. The 10-minute investment today saves you 18 holes of aches tomorrow.
Follow Golfergy for practical insights on performance, mobility, recovery and healthy ageing. Stay connected for new articles, research-led guidance and ideas to help you play better for longer.


Understand how hips and spine share your golf turn, why restrictions may change that pattern, and how to focus on comfortable, controlled movement.


Understand how hips, upper back and shoulders share a golf turn, with gentle ways to notice movement differences without chasing a fixed backswing angle.

Understand how your hips and mid-back contribute to a golf turn, with practical habits that put comfort ahead of extra backswing length.
Explore practical resources on performance, recovery, mobility and golf longevity.
Read the Blog


